
The Spring season has me all excited. The trees are starting to bloom. The days are getting a little longer. And the house is starting to feel light, bright, and fresh again!
In the midst of being a mom to a 7-month-old who just started crawling, I’ve been trying to find some time to work on our home decor. (Usually 9 o’clock at night when the baby is fast asleep.) I know I probably shouldn’t even bother, but the DIY desire is strong with this one! 😛
So over the course of a few nights and weekend days, I got my craft on again. Oh how I’ve missed it!
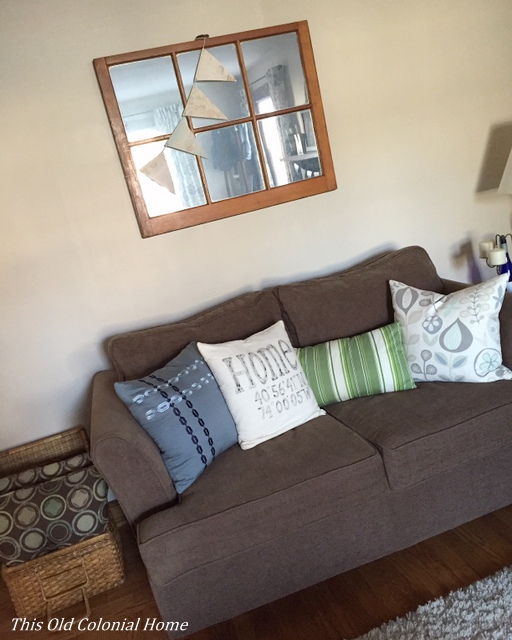
I changed up the tray vignette on our coffee table and made two spring banners using scrapbook paper and twine.

 I also spray painted a clear glass vase. I had been seeing white vases and pitchers all over Instagram lately and was drooling over them, so I decided to make one myself. I simply used one of those 1-800-Flowers vases I had sitting around and some white spray paint. Voila!
 The bigger project I tackled was painting one of the drawers left from the dresser I turned into a TV stand a couple years back. (See it here.)
I wanted the drawer to be shabby chic so I thought I’d finally try out chalk paint. Problem: it’s expensive! Solution: I made my own!
I knew I wasn’t going to need a lot of paint, so I used a paint sample that was just sitting on a shelf in the basement collecting dust. I poured the paint into an old tupperware bowl, mixed up half a cup of baking soda and 3 tablespoons of water, and mixed that in with the paint. And that’s it. Hooray for free chalk paint! Well, technically $3 for the sample and whatever the baking soda cost (which I already had), but still!
The best part about using chalk paint is you don’t have to sand beforehand. So once I took off the handles and wiped it down I was ready to start!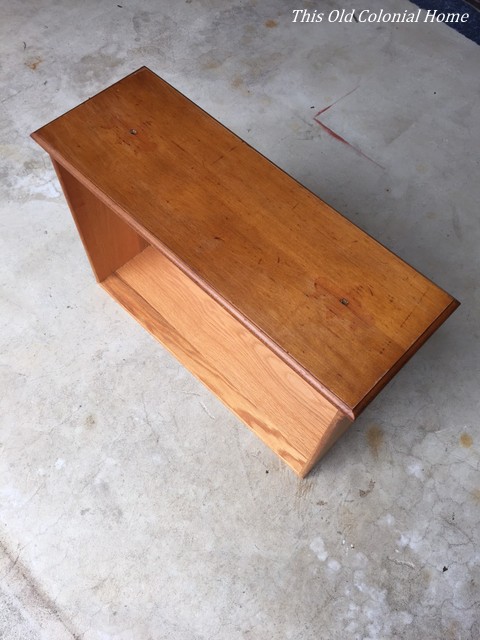
 The DIY chalk paint was a little grainy, but it served its purpose. I did lightly sand it between coats. It only needed two coats of paint. Once it dried, I then lightly sanded it again to distress it and give it that aged look.
 I decided to line the bottom with pretty paper. I used some of the same scrapbook paper that I used for the banners. Apparently I suck at cutting and measuring, so it took a few trials and errors to get it to fit just right. 😛 But once I got it, I simply used spray adhesive to attach it to the drawer. I then popped on some knobs I had laying around and my project was complete!
 I’m so happy with how it turned out! It’s actually just how I pictured it in my mind!
Now you’re probably wondering what the heck I’m going to do with it. Well, it’s a great photo prop. I already used it for a cute Easter photo shoot with the baby! I also think it’ll be a great piece to use for parties to display glasses or food. And maybe I’ll even eventually hang it up and use it as a shelf. So many possibilities!
