Well hello, old friends! It certainly has been awhile. I’ve been wanting to get back to blogging, but I haven’t had time to write and honestly I didn’t have anything to write about. The baby has kept us both pretty busy these past few months. Our home projects have been traded in for diaper changes, feedings, baths, sleepless nights, and snuggles.I’m certainly not complaining. Our little one truly is a blessing. But I do miss decorating and DIYing and sharing it with you on this little blog.
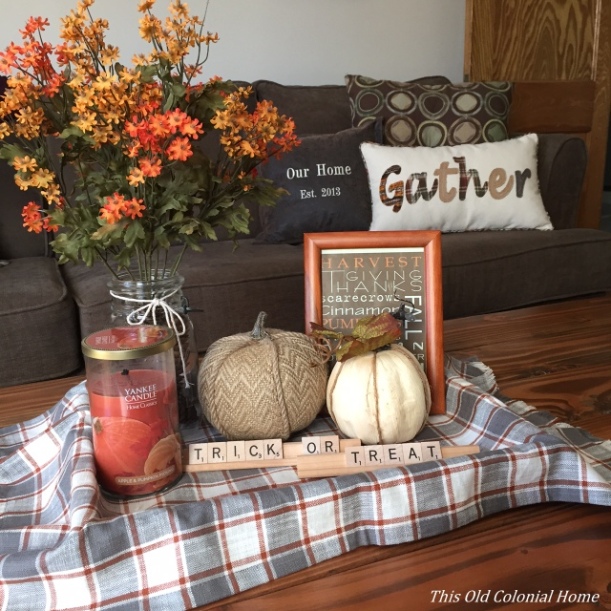
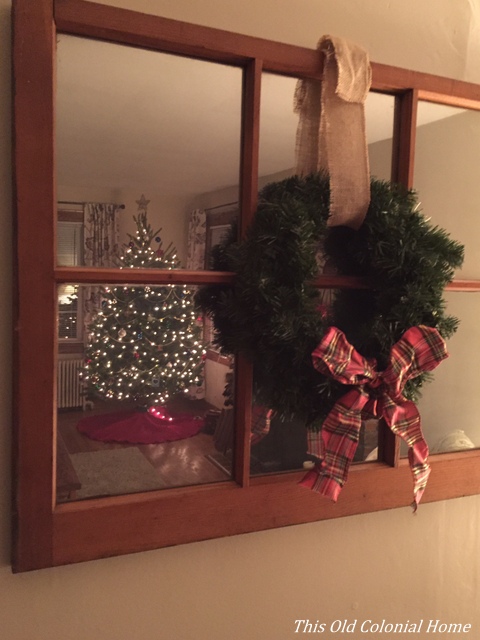
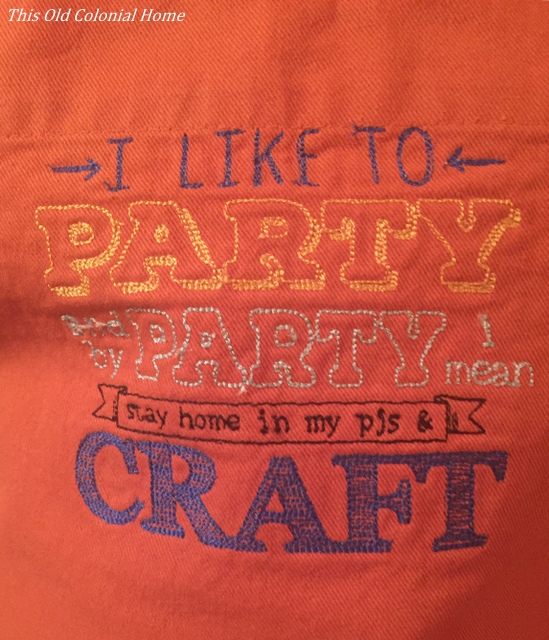
So for now I figured I’d play catch up and share some of my favorite Fall and Christmas decor that I managed to put together this year. (My apologies if you’ve already seen some of these on Instagram.)Also, I just had to share some gifts I received for Christmas. Check out this crafting apron!And how cute are these chalkboard mugs?!(Thanks, family. You get me!)
Hopefully in 2016 we’ll get back to some more projects. On my wish list: new carpet and couch for our family room, a DIY coffee table with storage, and maybe a new front door. Hey, a girl can daydream!
Wishing you a prosperous, productive, and peaceful New Year!
In my last post (see it here) I showed you the finished nursery.Now I want to share with you some of the DIY decor I incorporated.
Let me start with these book shelves.After perusing Pinterest for some inspiration, I decided to buy two wooden crates, which you can pick up from any craft store.
Using leftover paint from previous projects, I painted the inside of each crate. One a mint green and one a dark blue.After letting that dry, I then painted the outside white. This turned out to be a pretty tedious task. It took several coats to get the look I wanted. I also didn’t really tape anything off so I did have some bleeding, which I later touched up.If I were to do this again I would either prime it first or just buy the crate in white instead of natural wood to save time.
Since I stink at hanging things, my husband took the lead and used two anchor screws to attach each crate to the wall.
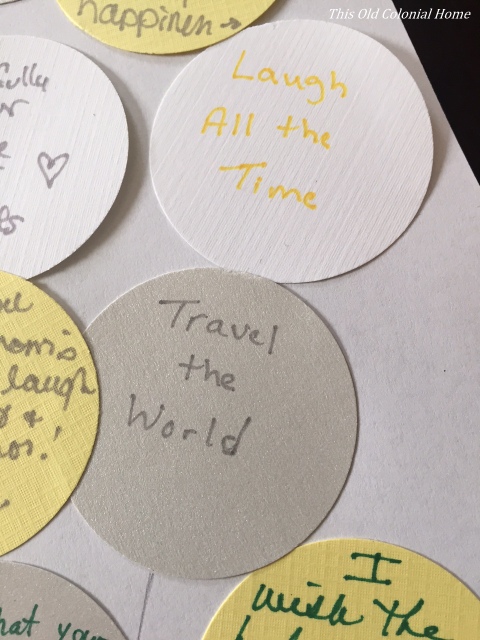
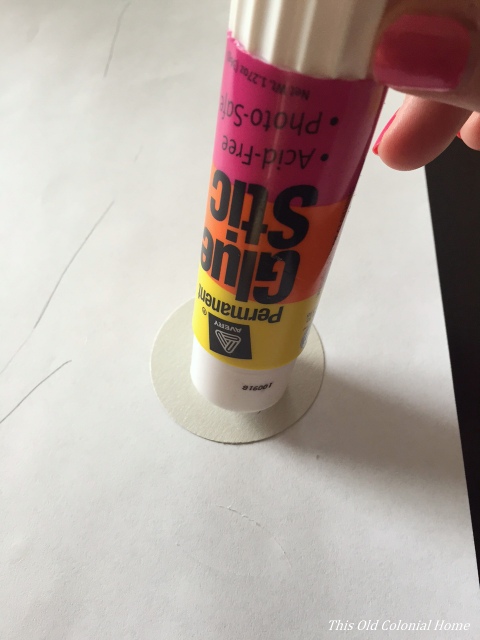
I then filled the now shelves with children’s books and toys. I love how this little nook turned out!Next, I want to share this gallery wall. (I’m such a sucker for gallery walls!)It all started at my shower where we had guests write a wish for the baby on little paper circles.Later on I laid out all the circles on a piece of 11×14 paper since I knew that was the frame size I wanted to use. But since that’s not a standard paper size I just cut down a piece of 11×17 paper. The idea was to make the circles look like balloons being held by an elephant, which I simply printed from Google Images.Once I had the layout I wanted, I glued each circle to the paper and drew lines to look like strings.After I found the perfect frame, I used this piece as the center and picked up a few more frames to surround it. Do you know what I used to fill those frames? One is my shower invitation and the rest are simply cut up gift bags!Talk about a simple, easy and affordable project! But also one that has so much meaning!
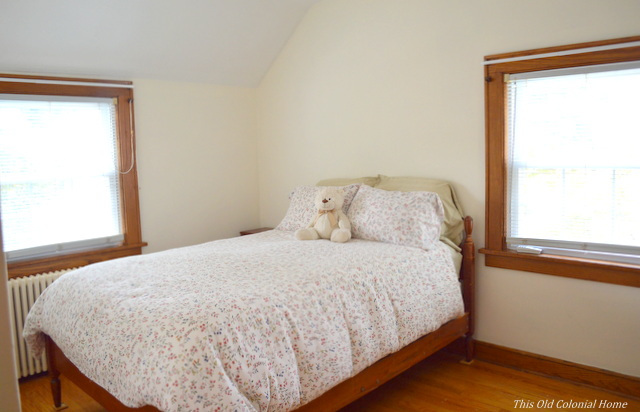
Well I can’t show you the bathroom just yet, but I can show you the nursery! I wasn’t sure I was going to be able to before the baby arrived, but luckily he or she is still cooking … giving us a little more time to get things done (and putting my mind at ease)!
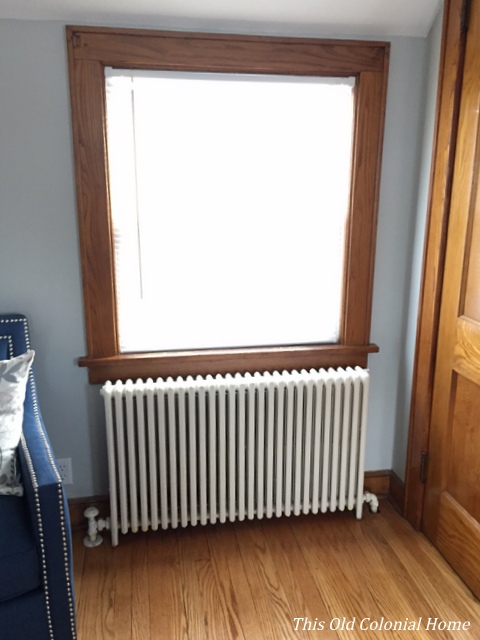
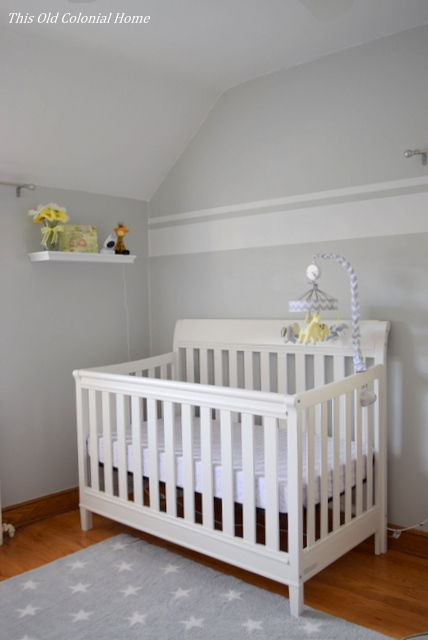
You may recall this is how the room used to look – reserved for guests.And here’s how it looks now – reserved for our little one. 🙂Since we don’t know what we’re having (aside from a baby of course), we went with gender neutral colors of gray, yellow, and white.
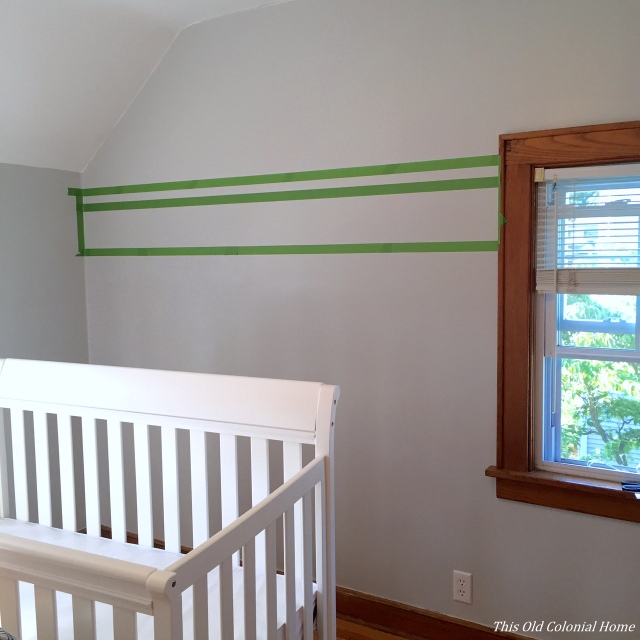
My husband took on the task of painting the room since I really shouldn’t be around the fumes. We chose the color Passive from HGTV Home by Sherwin Williams.
I wanted a little something extra in the room, so on one of the walls Jamie added the white stripes. (No, not the band!)I love how it turned out! Simple and subtle, but so cute!Now, let me take you around the room to show you some of the other details.
Here’s a little shelf above the crib that not only holds our video monitor, but also has faux flowers from my baby shower (see more about that here), a cute little giraffe from my friend who threw the shower, and a Beatrix Potter puzzle frame that came directly from the author’s hometown in England!This, of course, is the dresser/changing area. What I love most about it is the colorful gallery wall. But I’ll have more on that in my next post 😉Did you notice the rug?! We had a few issues purchasing it from Target. It kept going out of stock and then we had some shipping issues, but I’m so glad it ended up working out. It’s so soft and adds such coziness to the room. Those stars are just too cute!And this corner of the room might just be my favorite spot. I can already envision all the feeding, rocking, and reading to Baby M that will happen here!I’m so glad this room finally came together. As a mom-to-be, it was important to me to be able to create a space where our little one will grow, have dreams, play, imagine, and make memories!
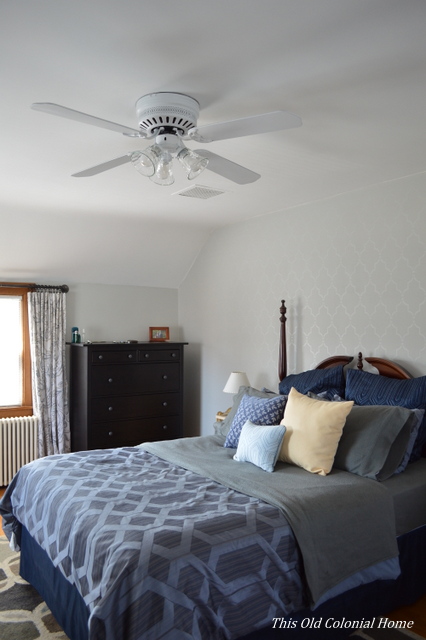
I am so happy to report that our master bedroom is finally done!It has taken more than a year to get this room all pieced together. Gasp! Certain things just tend to hold up the process: time, money, jobs, weekends away, a baby on the way … but that’s alright. This is what real life looks like (at least for us). Who are these people anyway who can knock out a room in a weekend?!
It all started in March of last year when Jamie painted our room Cliffside Gray by Benjamin Moore and I tackled my first stencil wall. (See all the details here.)The furniture remained a hodgepodge of pieces that didn’t go together. I had bought a yellow nightstand at a garage sale for $5 that I loved. The original thought was to add another yellow nightstand on the other side of the bed, but as usual I eventually changed my mind. So the room remained in a state of mismatchedness. (Is that even a real word?!)The plan now is to put this pretty little piece in the nursery.
Over this past winter, the furniture started to come together a little bit better. We bought dressers from Ikea and started adding some decor.I then splurged on this accent chair from Marshalls. We had the space for it, and it was just too cute to pass up! We also added curtains with some industrial pipe rods (see it here). It’s amazing how curtains can make a room look so much more complete! At this point I wasn’t feeling our headboard anymore. I just didn’t like the color of the wood with the new dressers. So onto Craigslist it went and the search began for a tufted one. After a few months, I found the perfect headboard on Wayfair for a crazy, awesome price! (This is not a sponsored post, but I’m telling you, you should sign up for those daily deal emails. They will literally pay off!)And after just a few days of ordering it, our headboard finally sold too. It was meant to be!
The ceiling fan in our room also got a nice little update. (You can read more about that here.)
So now we’re down to the final pieces of the puzzle: the nightstands.
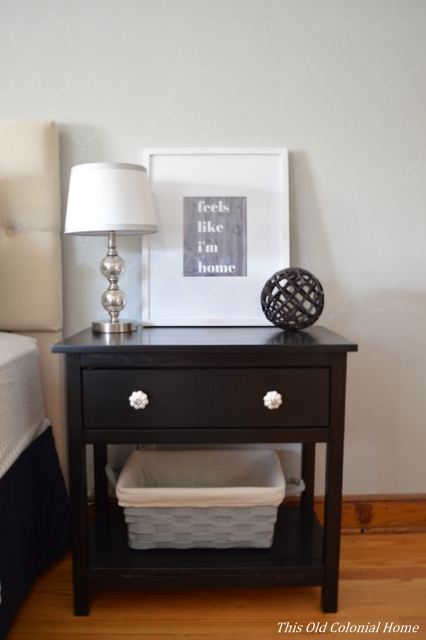
My ever-so-handy husband built us two nightstands using these free plans from ana-white.com. Here are a few shots of his work in progress:I was then tasked with finding drawer pulls, lamps, and decor. Again, each item took a little bit of searching, but it finally all came together.My favorite part is the artwork. Instead of buying some generic saying in the store (sorry, but I’m over the ‘Love you to the moon and back’ signs), I used Canva to create something that has more meaning to us as a couple. “When I’m with you feels like I’m home” is a lyric from the Duncan Sheik song ‘Home,’ which is the first song we danced to as husband and wife!
So as you can see, this room went through a lot of different phases. Here’s where we originally started when we first bought the house.And this is how it looks now!I truly love our master bedroom! I find it to be such a calming and relaxing space, and a true reflection of us. Is it time for bed yet?!
Maybe you noticed, maybe you didn’t. But the posts have been slacking as of late. (I apologize.) That’s not to say we aren’t still busily working on the house — we are. Well, Jamie is. I’ve had to take a backseat approach … because in just a few short months we are expecting our first child!I guess you could say we are undergoing our biggest home transformation yet! We are so overjoyed!
So as you can imagine that has been keeping us plenty busy. And Jamie being the good husband and future daddy that he is, is making sure I stay away from projects that involve a lot of physical labor (no pun intended). He is working so hard to get some of our outstanding projects crossed off the list. He is currently in the midst of building two nightstands for the master bedroom.Isn’t this great?! He’s still working on sanding and staining them. I’m working on finding knobs and new lamps. Decorating is pretty much what I’m left with 😛 We also just ordered a new headboard. I can’t wait until it’s all put together and I can show you the reveal. In the meantime, be sure to follow me on Instagram at @oldcolonialhome for sneak peeks along the way!
We will also, obviously, need to start working on the nursery. What was the guest room will be transformed this summer into a room for our little one. I can’t wait to get going on that!
And because we don’t have enough on our plate, we will also soon be undergoing a bathroom renovation!Yes, I’ve been saying that for months, but we can thank town bureaucracy for holding up the permit approval. And of course now the timing kind of stinks since a certain someone needs to get up a few times a night to use said bathroom, but it’ll be worth it in the end! I hope to show you a fantastic before and after once it’s done.
So we certainly have a lot to do, but also a lot to look forward to … in more ways than one!
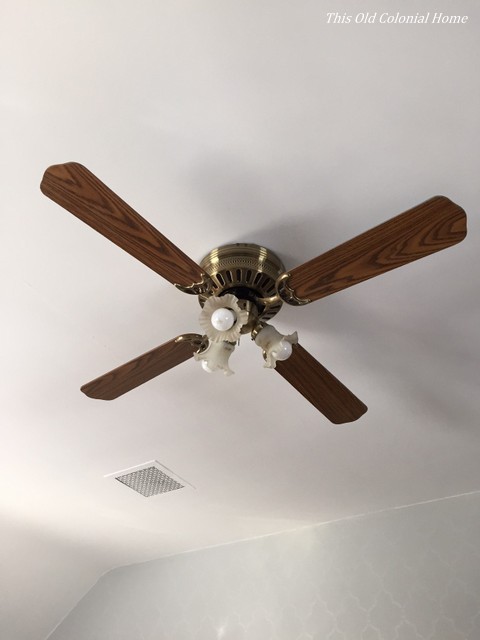
We have a few ceiling fans in our house and man are they ugly! They scream ’80s with their fake wood finish, brass fixtures and dated frosted glass light shades.
The one in the master bedroom bothers me the most since it literally stares me in the face every time I go to sleep.Instead of spending a hundred plus dollars on a completely new fixture, we decided to give it the ole DIY try.
We started by disassembling all of the fan’s pieces. (Don’t forget to cut the power!) Each piece then got a good cleaning. Talk about dusty! Gross.
Now it was time to spray paint. We decided to do the whole thing white using Rust-Oleum Painter’s Touch.Jamie laid out all of the pieces on a drop cloth in the garage, including the screws, and gave them two coats of paint.Meanwhile, I went in search of some new glass light shades to replace the old ones. I came across these at Lowe’s. They’re definitely a nice upgrade and a decent price!We let the fan pieces dry overnight and by the next day they were ready to be hung back up.
Here’s what it looks like all put back together. What an improvement, right?! Such a quick DIY and it cost less than $20. Can’t beat that!
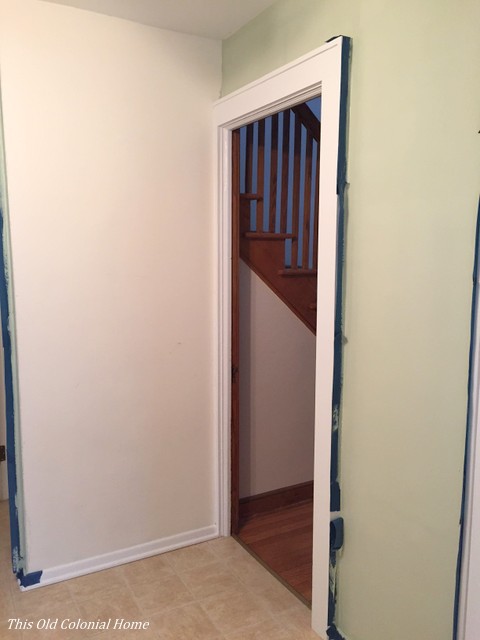
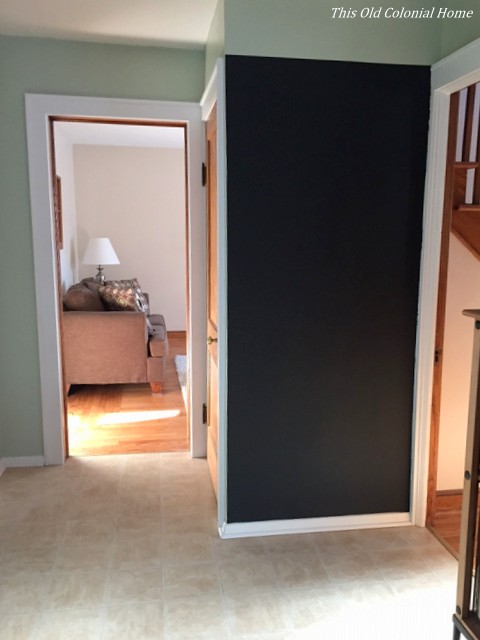
Well it’s official. The entire first floor of our house is finally all repainted. The last piece of the pie was the kitchen. (Mmm … pie.) Jamie wiped the white walls goodbye with some Mint Frost by Valspar. It’s the same color we used in our dining room. I think it makes the two rooms flow nicely together.One of the walls we left white … well only temporarily. On this wall we decided to use chalkboard paint!Before painting, Jamie sanded down the wall to make it as smooth as possible. We let the paint cure for a few days before doing anything else to it. And really it sat bare for longer than it needed to because I couldn’t figured out what I wanted to do with it 😛I finally came up with what I wanted to display. But before doing that, I took a piece of chalk and went over the entire wall.I then wiped it clean with a little soap and water. It took a few wipe downs to get all the streaks out. I also had some residue from the rag I used, so I just took a vacuum brush to the wall once it was dry. Now I was good to go!
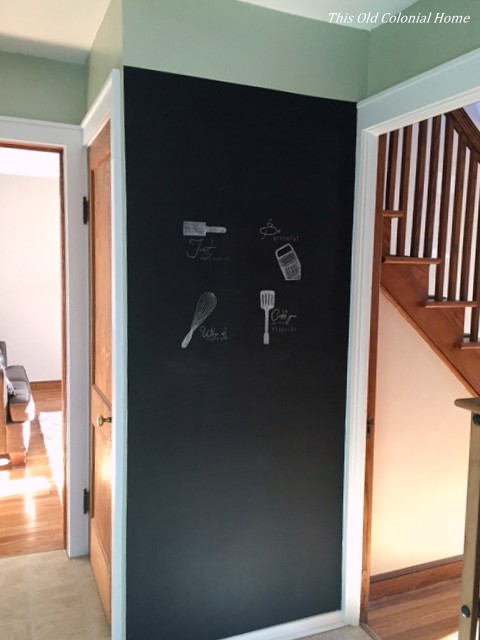
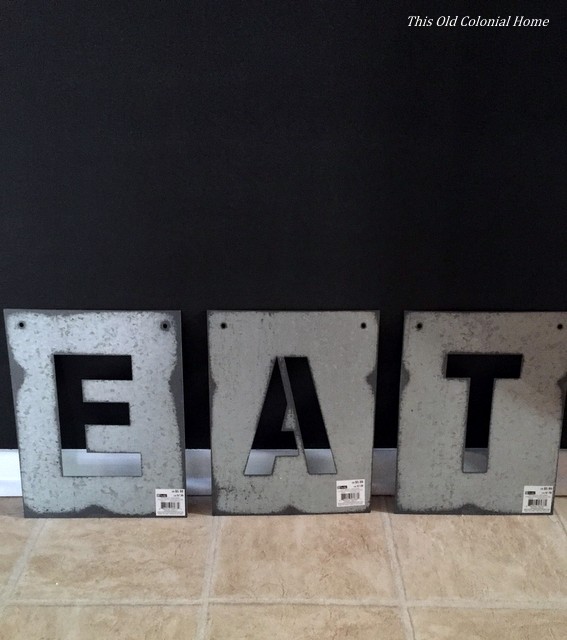
I found some cute kitchen pun printables on Pinterest. Since I stink at drawing and can’t really do fancy handwriting, I used a method similar to Lauren’s over at Bless’er House. I printed each pun then traced over the letters and design on the back side with chalk. Then I taped the sheets of paper to the wall and went over each letter and design on the front with a pencil. This pressed the chalk onto the wall, transferring the image.I could then easily color in or trace any areas that needed it. This is what it looked like after I did all four.It still needed something though. So I added a little border around it, included another saying (that one I did freehand, woah!), and hung a cute little bucket to hold chalk.But I still really wanted something along the top. I had been thinking about an EAT sign. And it must’ve been fate because I found this beauty at Michael’s!Here’s the final product. I love how it turned out! It think it’s the perfect dose of industrial decor.What cool projects have you made with chalkboard paint?
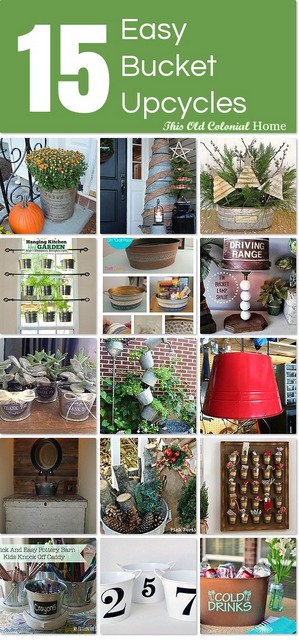
I don’t know about you, but I love a good galvanized bucket. Whether it’s new or old, rustic or freshly painted — they can serve so many purposes. You may recall that I blogged about a rusty bucket that I turned into a planter last Fall.Before I really knew what I wanted to do with it, I had turned to Hometalk for opinions. So many great ideas were tossed around — like filling it up with rolled towels for the bathroom, or holding wood by the fireplace, or even serving as an umbrella stand. So when Hometalk recently approached me about curating a board on upcycled buckets, I knew I couldn’t say no. I mean look at all the possibilities!There’s everything from a centerpiece, to lamps, to an Advent calendar, to even a bathroom sink!
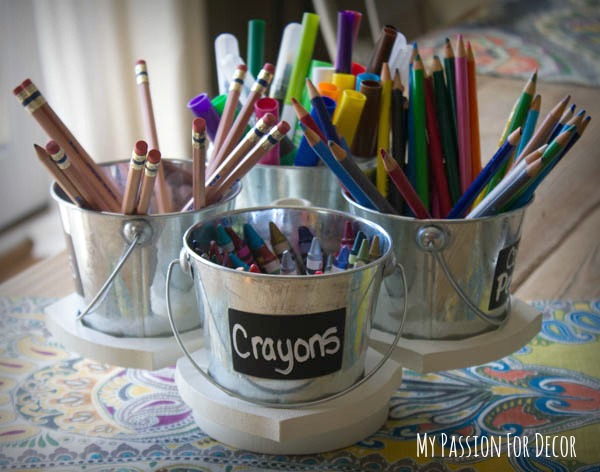
Turning them into planters tends to be the most common. But I love how Jeanette from Snazzy Little Things took it one step further and used small buckets filled with succulents as wedding favors. What a great idea!Marie, who can often be found at Flea Market Gardening, took gardening with buckets to a whole new level. She crafted this tipsy solar fountain! How cool is that?!Buckets are also a fun way to keep things organized. Melody over at My Passion for Decor cleverly created a caddy for kids’ crafts. (Say that 3 times fast!)If I was forced to choose a favorite (which is really hard), I think it might just have to be this creation from Laura at Finding Home. Who would even think to create a Christmas “tree” using different sized buckets?! I love that!For more inspiration and to see the rest of these fantastic ideas, head over to my Hometalk board.
I’m happy to report that we’re making some progress in the master bedroom! If you follow me on Instagram (@oldcolonialhome) then you know that I recently scored this awesome accent chair at Marshalls.I was supposed to be shopping for a mirror at the time, but when I came across this lovely piece with its nailhead trim, I knew I couldn’t pass it up (especially when I had passed up on one similar last summer).
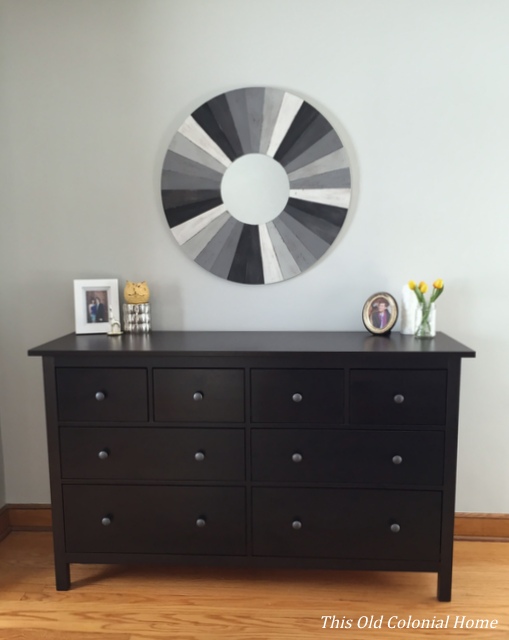
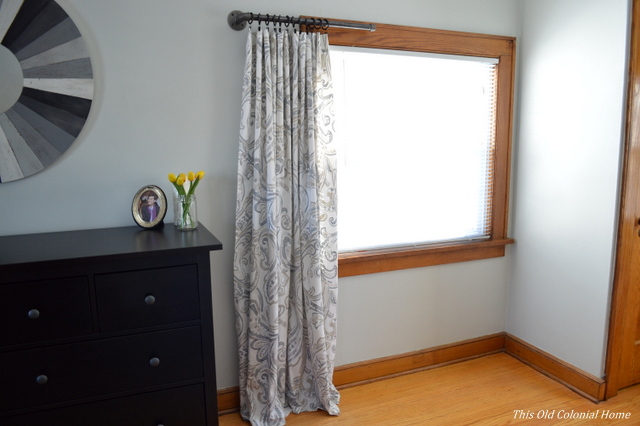
I did eventually find a big, round mirror that I was looking for to fill up the huge wall above my dresser. This rustic, wooden beauty is a HomeGoods find.But the main thing I want to share with you is our new curtains.I love how they turned out, but man what a process it ended up being!
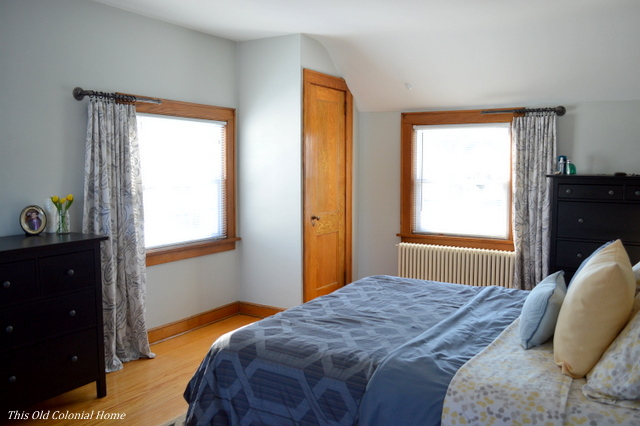
One of the issues we had was that each of the 3 windows in our room either butts up against the roof line or a wall or both.This makes curtain rod placement tricky, especially since I usually like to go high and wide. That wasn’t going to be an option here. I considered doing roman shades, but I didn’t like the idea of a third of our windows always being covered, blocking natural light.
So I came up with the idea of using one panel on each window and hanging it using a rod made with black steel pipes. But instead of having two ends, we just have one.Making the rod was super easy and cost less than $20 each. Here’s what I used:3/4″ Floor Flange
3/4″ x 2″ Nipple
3/4″ 90 degree Elbow
3/4″ x 24″ Threaded Pipe
3/4″ Cap
After wiping down the pipes, I assembled the pieces in that order.
Another issue we encountered was the length from the top of the window to the floor. Since the windows are at the roof line, they’re lower than normal. So the standard curtain sizes wouldn’t work — 63″ was too short and 84″ was too long. But you know what’s the perfect length at 72″? Shower curtains! Did you even notice?!They were another HomeGoods happy find, and only cost $14.99 each!
So I had my curtain rod and I had my curtains, but there was one other issue — attaching the two. The pipe obviously wouldn’t fit through the holes in the shower curtain, and most standard shower curtain hooks wouldn’t fit over the pipe, and regular curtain hooks only come 7 to 10 in a pack and shower curtains have 12 slits. Oy! I was getting ready to throw in the towel. But finally I found something and ended up getting these affordable curtain rings from Ikea.Who knew such a small project would turn into such a big headache? But at least the end result turned out great and that’s all that matters!We still have a few things left to do in here (like paint the ’80s ceiling fan, build nightstands, and replace the lamps), but our bedroom is finally starting to feel a lot more cozy!
So far the new year is off to a slow start in our house. I keep reading about other bloggers’ projects and re-organization tactics. And while inspired (and somewhat jealous), I’m having a hard time getting myself motivated after the holidays. We only just took down all of our Christmas decorations a week and a half ago!
But that doesn’t mean we don’t have some plans lined up.
One of my goals for the new year is to finally finish decorating the master bedroom.Our furniture is all mix matched, but not in a good way. We don’t have window treatments other than blinds and there’s still nothing hung on the walls yet. It’s time.
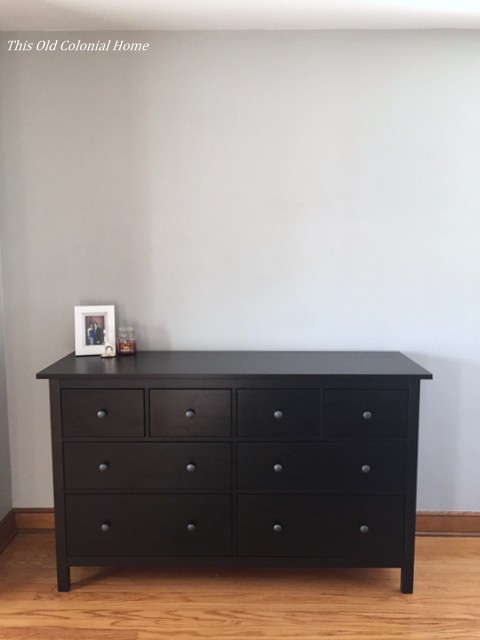
So far we have managed to get two new dressers.I think just about everyone has these Hemnes pieces from Ikea, but they’re so affordable and look great! I think they have definitely helped improve the room.
On the to-do list is replacing the headboard. Even though I like our current one, I think with the new dressers and the wood floors and trim in the room it’s too many different stain colors. I’m hoping to switch it up with a tufted headboard. I think having fabric will help break up all the wood. I love this one!
From Amazon
We also hope to eventually make two nightstands. I love our yellow one, but I think we plan to move that into another room. Once we have the nightstands, then I can add new lamps and artwork. I’m also working on styling the long dresser and the big blank wall behind it.
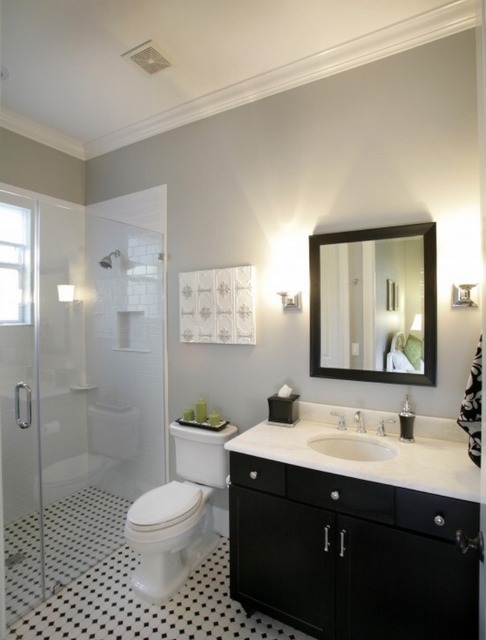
The other major goal for the new year is having our upstairs bathroom completely renovated. We’re talking a gut job!But why you may be asking. Because it’s an incredibly small bathroom that has had (original 1937) plumbing issues, surface mold, and peeling paint in the tub. So we figured let’s start fresh — give it a new layout, take a little space from a bedroom closet and hopefully incorporate a pocket door to give us more elbow room and to make it more functional. This is a job for the professionals. We’ve already got our contractor and will hopefully see work begin in the next few weeks. Think classic subway tile and black and white floors. Something like this perhaps.
From Houzz
We are super excited about this! Aside from having our hardwood floors redone and our driveway widened, this is the first major renovation we’re undertaking. I can’t wait to share the progress and end results with all of you!

 I’m certainly not complaining. Our little one truly is a blessing. But I do miss decorating and DIYing and sharing it with you on this little blog.


 Also, I just had to share some gifts I received for Christmas. Check out this crafting apron!
 And how cute are these chalkboard mugs?!
 (Thanks, family. You get me!)


 The furniture remained a hodgepodge of pieces that didn’t go together. I had bought a yellow nightstand at a garage sale for $5 that I loved. The original thought was to add another yellow nightstand on the other side of the bed, but as usual I eventually changed my mind. So the room remained in a state of mismatchedness. (Is that even a real word?!)