I’ve been wanting to paint our master bedroom gray, but little did I know how hard it would be to find the right shade. I picked up a few paint cards from Lowe’s. But I really didn’t like any of them once I had them on the wall. The problem with gray is it has so many different undertones – brown, blue, green, etc. I was really looking for a true gray without an undertone. After doing a lot of online searching, I then started looking at Benjamin Moore paints. After going through several options …
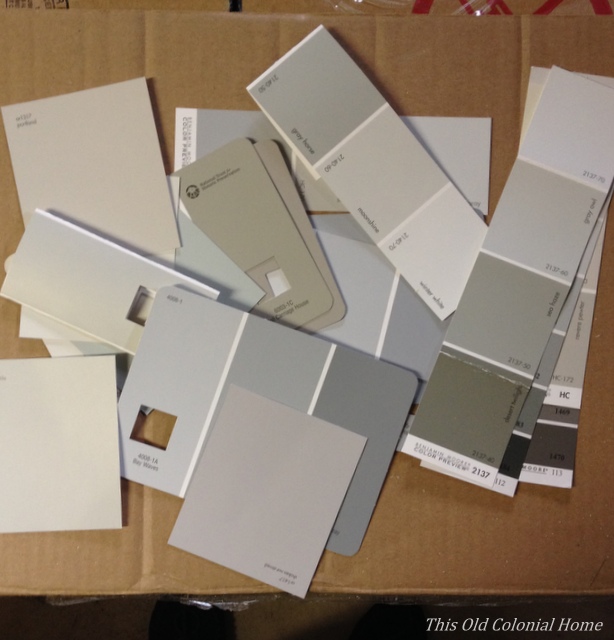 … my husband and I finally decided on Cliffside Gray by BM. It looked to be the truest gray in the lighting in our bedroom.
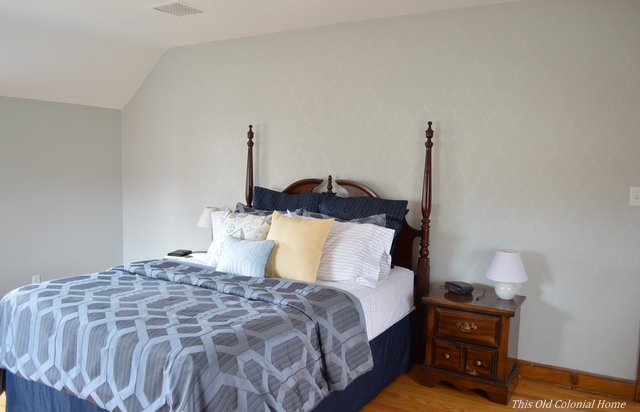
Of course, once we actually got the paint on the walls it was a little darker and had more blue in it than I wanted, but it still looked nice. I think part of the problem was that our blue bedding was affecting the color.
 I hadn’t anticipated needing or wanting to change our bedding, but I had to do something so the room didn’t look so dull.
In between that search, we also planned on adding an accent wall using a stencil. I found this one called Marrakech Trellis from Cutting Edge Stencils. Jamie had painted the whole room in a matte finish. For the stencil I used the same Cliffside Gray color, but in a semi-gloss finish. This is a shot taken during the process.
 It was fairly easy, but painstakingly slow. The main thing I struggled with was getting each section to line up. But I love how it turned out! Here are some pictures of the transformation from when the room was all white to where it is today.

Before
After

Before
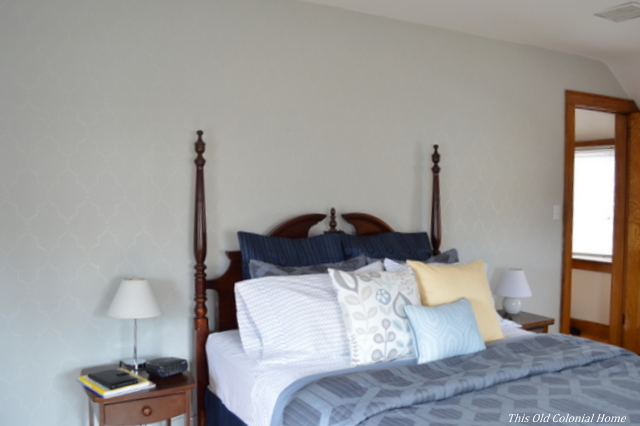
After

Before

After
Did you notice the improved bedding as well?! Instead of breaking the bank by getting a whole new set, I made 3 simple changes. I added the white and gray chevron patterned sheets, which I found at Kohl’s for only $30 (after a 30% off coupon). I added the colorful pillow, which I found at Marshall’s for $17. And I simply changed the way I make the bed – pulling the comforter down and folding it halfway up to expose more of the sheets. I feel this helps break up the blue. Doesn’t the bed look so much more inviting now?!


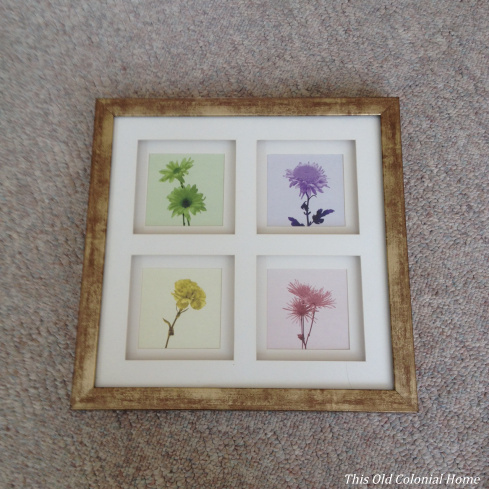
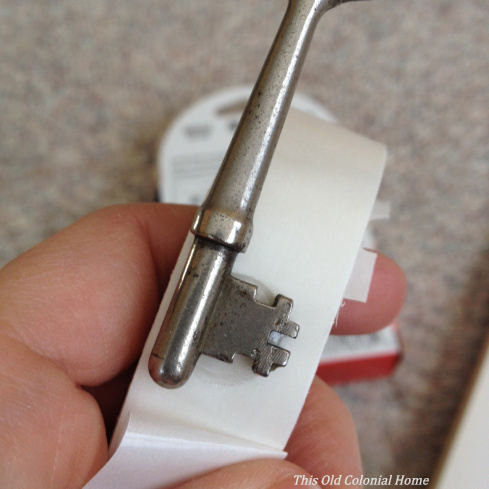
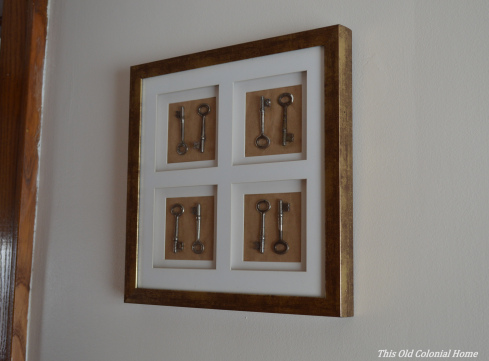
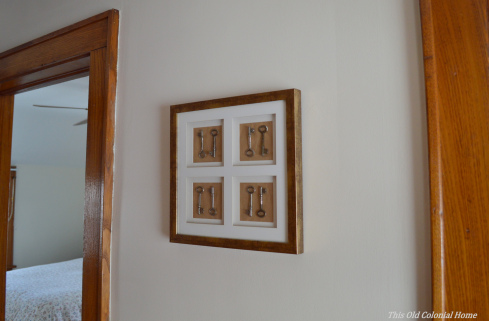
 Upon closer inspection, the trim is a little beat up and worn, but that’s what gives it character. And luckily it was never painted over (except in 2 rooms, which I hope to strip someday). That’s not bad for a house that’s pre-war. Along with the chestnut trim are chestnut doors. In fact, we have a total of 18 chestnut doors in our house if you include the closets! That’s a lot of doors! But you know what goes with all of those doors? These awesome skeleton keys!