As if this time of year isn’t busy enough with all the decorating, shopping, wrapping, baking … I decided to throw a few Christmas crafts into the mix as well. I just can’t help myself!
It kind of all started when I saw this cute sign at Marshalls.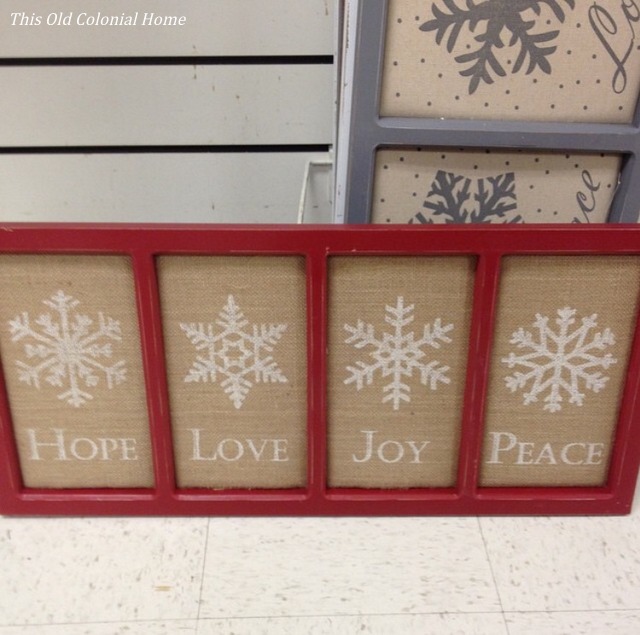 I love its rustic vibe, but I didn’t love its $25 price tag. So I figured maybe I can make something similar.
I ended up using this framed mirror that I had lying around. I didn’t want to keep the hooks, so I took them off and filled the holes with spackle. Wood filler would also do the job.
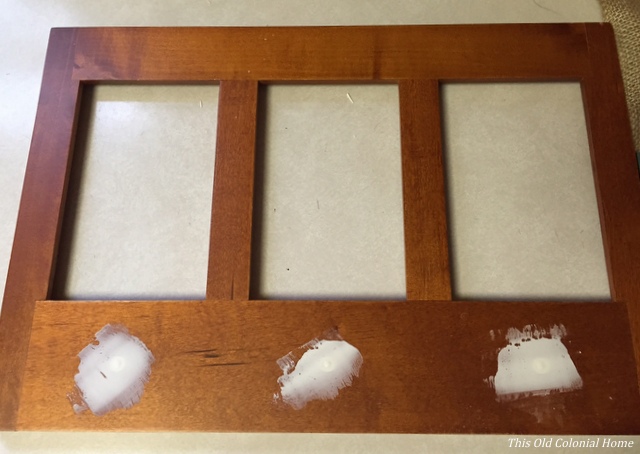 While I waited for that to dry, I covered the mirror in a brown paper bag and then some burlap. Once the spackle was set, I lightly sanded the entire frame. Then it was time to spray paint!
 It only took 2 or 3 quick coats. After it was dry, I reinserted the now burlap backing.
 Then I simply used a snowflake stencil that I picked up at Party City for 99 cents. I used white paint I already had on hand and bought a foam pouncer from Michaels for around $2.50. Now granted my sign is a lot smaller than the one at Marshalls, but for less than $5 I’m pretty happy with it!
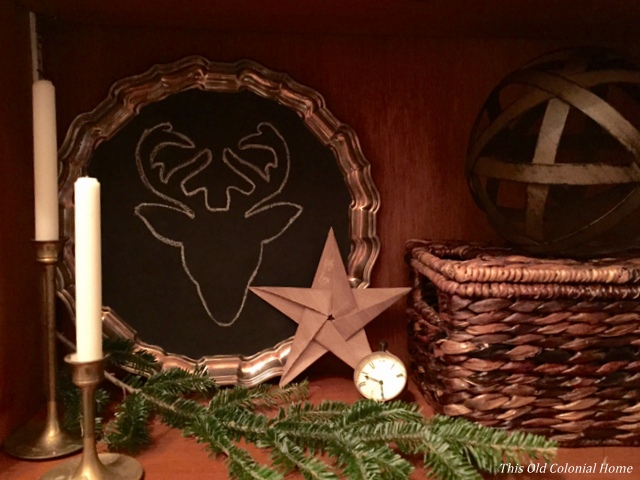
Eventually I would like to add some wording along the bottom, like ‘Let it Snow,’ but for now it still brings some holiday cheer to our living room.
 In addition to the sign, I also made some fun, Origami stars using festive scrapbook paper.
 I’ve only done Origami a few times and the last time was probably when I was in 6th grade! But this video tutorial I found through Pinterest was really easy to follow! If I can do it, so can you!
And last, but not least — I couldn’t resist making some more no sew throw pillows! I followed the same method as my placemat pillows, but this time I used kitchen towels. The red one was actually plain, but I stenciled on a big snowflake!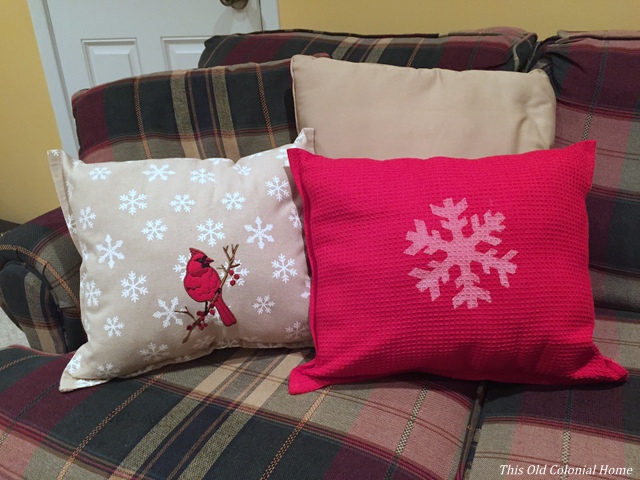
 It’s another easy and inexpensive way to add some more Christmas cheer around the house!
If you want to keep up with more of my Christmas decor, please be sure to follow me on Instagram at @oldcolonialhome and check out the hashtag #oldcolonialhomechristmas 🙂
Merry Christmas, my friends!