
Welcome to our home! My husband, Jamie, and I bought this 1937 colonial house in the Summer of 2013. It’s our very first home, and we are only the third owners! I never knew I wanted an older home until we saw this one. It has hardwood floors, a gas fireplace, and chestnut trim and doors, including the original brass hardware and even the skeleton keys. While it has its fair share of projects, I love everything about it! It’s where our life happens.
So please wipe your feet, come on in, and take a look around!
ENTRYWAY 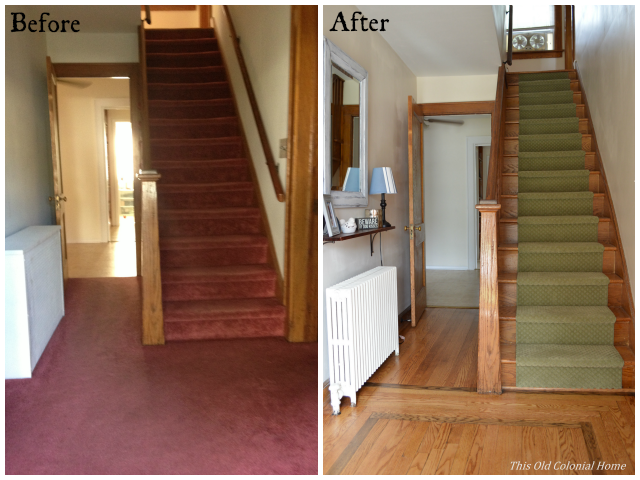 The first thing we did when we moved in was rip up all that crazy carpet and refinished the hardwoods underneath. (See the process here.) We removed the railing along the wall and added the stair runner to prevent slips and to bring in some color. We painted the walls Cream in My Coffee by Valspar. And we’ve added some decor items like a mason jar sconce, shelf, and mirror.
What’s left? This front section.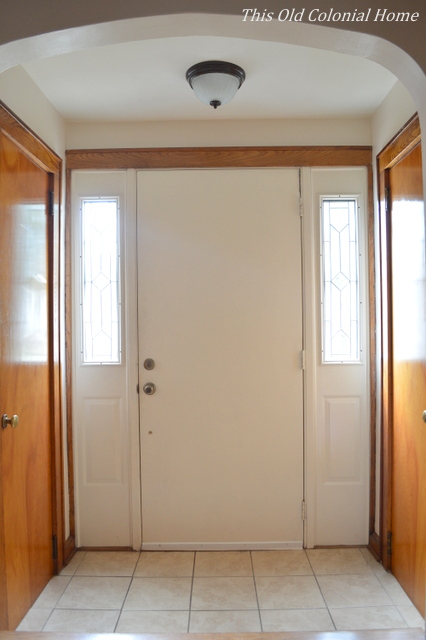 The plan is to one day rip out the two closets to open up the space more and put in benches and hooks. We’d also like to replace the tile floor with slate or something similar. And we want to replace the front door and sidelights.
LIVING ROOM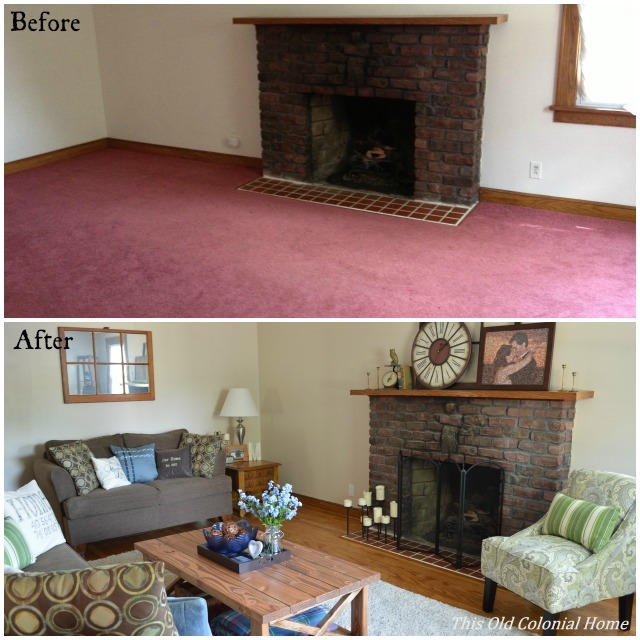 We did a lot of work in here. As you can see, the reddish pink carpet is gone and the floors redone. We painted the room Desert Fortress by Valspar. Jamie made our coffee table, which I absolutely love! I made the window mirror from an old pane that used to be part of the house. And we added a gallery wall above the couch.
DINING ROOM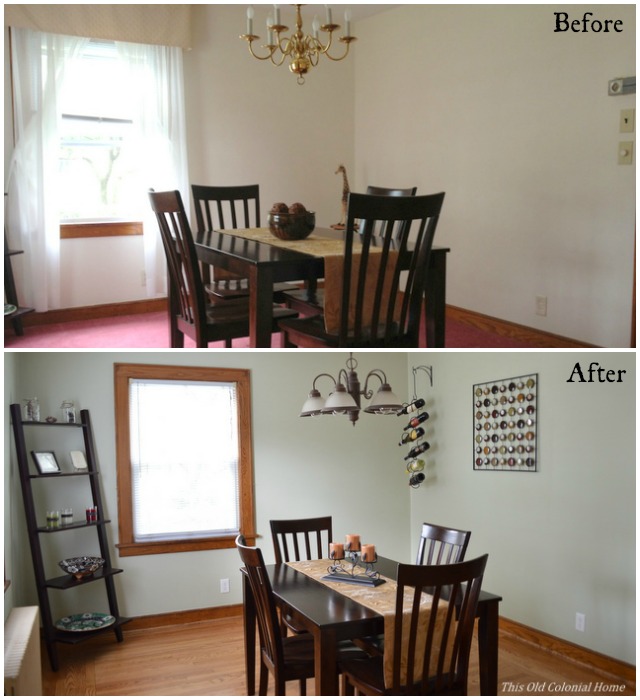 In the dining room, it’s the same deal as the entryway and living room — carpet gone, floors refinished! We painted in here using Mint Frost by Valspar. Jamie switched out the chandelier from the dated brass candle one to this more rustic one that my father scored at a flea market. (Like father, like daughter!) We also changed out all the outlet covers and switch plates throughout the entire house, and installed a smart thermostat. We also added this fun, unique wine holder.
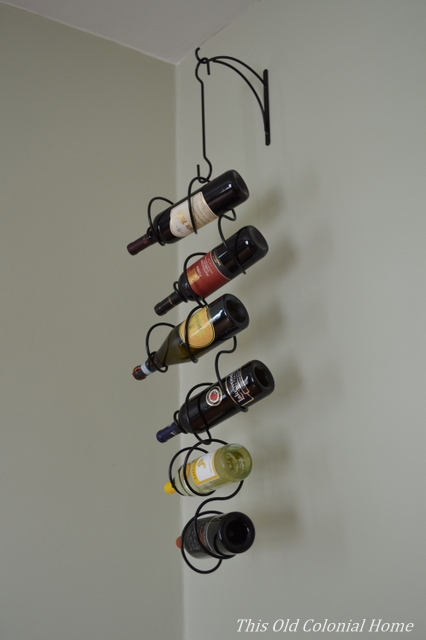 What’s left? Well, we actually don’t want to do too much in here. When you see the kitchen next you’ll understand why.
KITCHEN This is our lovely galley kitchen. So far we’ve only painted it (the same color as the dining room) and added a fun chalkboard wall.
 Our goal (and we’re talking in 5 years maybe/hopefully) is to knock down the wall between the kitchen and dining room and make it one big open space with a peninsula. Right now, it’s a tight squeeze even with just us and the dog. It’s even worse when the fridge or dishwasher is open. It does have good storage, but not a lot of counter space. We both love to eat and cook and the kitchen really is the heart of the home, so hopefully someday we’ll get our dream kitchen. Oh to dream!
FAMILY ROOM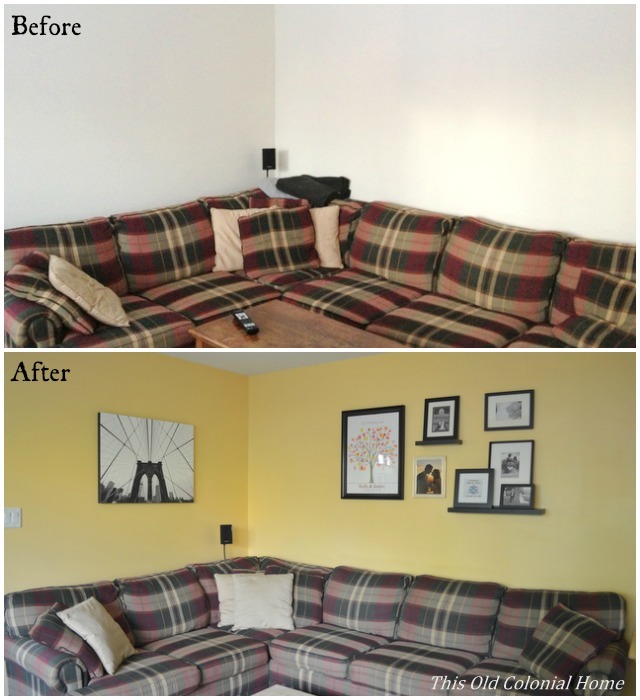 We brightened up the family room by painting it Honey Butter by Olympic. We added a smaller gallery wall containing photos from our wedding, and artwork of the Brooklyn Bridge. (That’s where Jamie and I had our first date!) I also refinished an old dresser to serve as our TV console.
 The sectional, which was free, could probably use a cover and some fresher pillows, but this is the room that sees the most wear and tear (sometimes literally). It’s where Jamie and I veg out, where the dog plays, and where our future children will someday play, climb, and spill things.
What’s left? For now, the plan is to make another coffee table — one that has storage — and add some better end tables. We’d also like to replace that door, and maybe even widen it, with French patio doors.
DOWNSTAIRS BATHROOM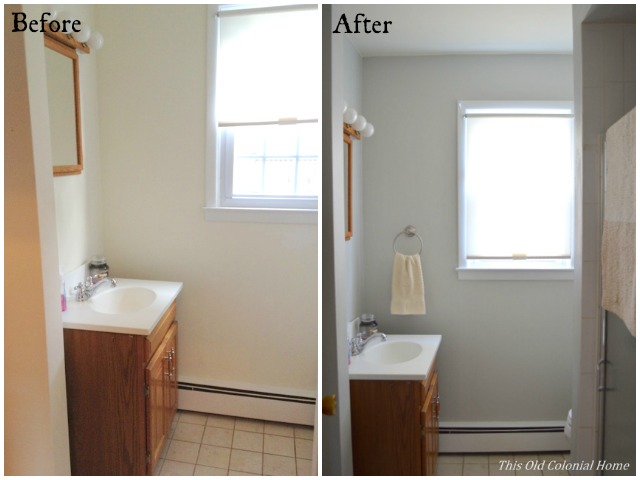 The bathroom was updated with a coat of paint. The walls are Cliffside Gray by Benjamin Moore. We, and I mean Jamie, also refinished the cabinet doors above the toilet taking them from eww to oooh!
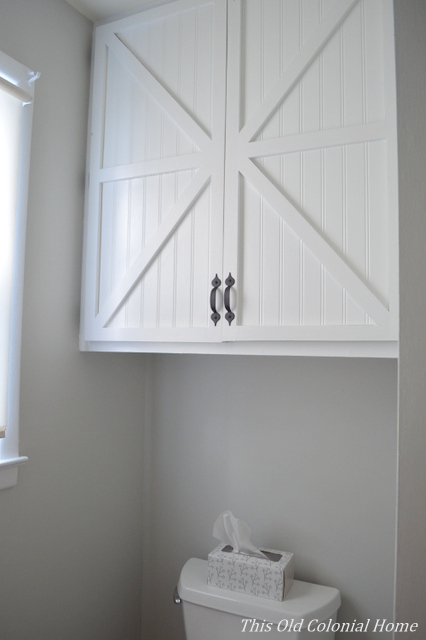 What’s left? Replace the vanity, mirror, lighting and floors … and maybe someday the shower.
MASTER BEDROOM This room has seen a multitude of phases, but it’s finally finished! We painted and added a stencil feature wall. The color is Cliffside Gray by Benjamin Moore in a flat finish. The stencil is the same color in a semi-gloss finish. We also improved the bedding with a few minor touches, replaced the headboard, bought new dressers and made two nightstands. You can see the full reveal here.
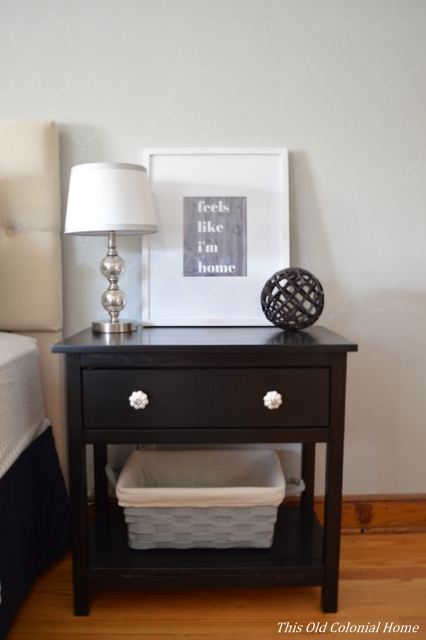
UPSTAIRS BATHROOM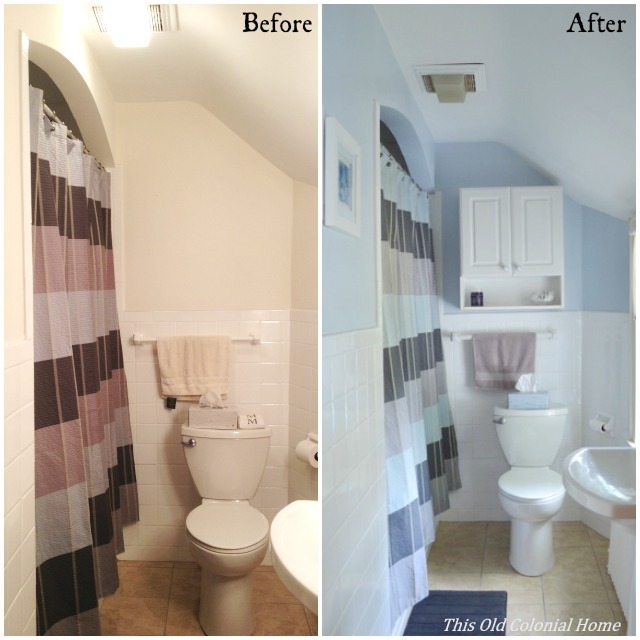 Well, we originally started by giving the upstairs bathroom a fresher look by painting the walls Tinsel Beam by Valspar. I love how the blue made the room pop. We also added the medicine cabinet above the toilet that I scored at a yard sale for $10!
However, this bathroom recently underwent a complete renovation. We started having plumbing issues among some other problems and decided it would be best to just start over. So we actually made the room a little bigger by taking some space from an adjoining closet. As you can see, we also changed the layout and added a pocket door, making the bathroom more functional. I love the traditional black and white design!
NURSERY This room used to be our guest bedroom, but needed to be turned into a nursery for our little one. We chose to go with a gender neutral theme of gray, yellow, and white. The walls are painted Passive from HGTV Home by Sherwin Williams. We also added white stripes on one of the walls for a little accent. And of course we swapped out the big bed for a crib and glider amongst all the other baby necessities. (Guests can still stay, but in our smaller third bedroom.)
While there’s still work to be done, we’ve managed to accomplish a lot in just two years. Each project we do makes the house feel more and more like our own. We’re enjoying putting our stamp on it. We hope you’ll continue to join us as we make improvements and call our house a home.
Thanks for stopping by!!

September 12, 2014 at 11:24 am
Beautiful! I can’t wait to see what comes next! (You mentioned a nursery… sounds good to me!! 🙂
LikeLiked by 1 person
September 12, 2014 at 11:10 pm
It’s coming along so well! It’s always fun to take a peek…maybe that’s why we all love home tours. We’re allowed to be nosey for a bit. 😉 I haven’t had the courage to post mine yet because my house is nowhere close to even progress.
LikeLike
September 12, 2014 at 11:50 pm
Thank you! I love being nosey and looking at other people’s décor 🙂 From what I’ve seen of your projects, I bet your house is beautiful!
LikeLike
September 22, 2014 at 8:41 pm
Wow, you and Jamie have done so much. And not even any broken bones or major blood loss on Jamie’s part! The house looks fantastic!
LikeLiked by 1 person