
It’s been several months in the making, but we finally completed and hung a gallery wall in our living room. We have a lot of blank walls to fill, and after seeing this post by With Love, From California I was truly inspired! I knew it would be the perfect addition. Following her lead, Jamie and I measured the wall above our couch factoring in a 12″ perimeter. There was one tricky part though. Our couch isn’t centered along the wall because of a door that swings open. So since the couch is off-centered, we figured it was best to keep the gallery wall the same way. That way it’ll still be centered over the couch and we won’t have pieces hidden behind the door, which is almost always open wide.
Once we had the measurements, like With Love, From CA, I cut pieces of string to mirror the dimensions and laid them on the floor to recreate the wall space. I now had a place where I could play with the arrangement of frames, artwork, etc. until I got it just the way I wanted. As for deciding what went into the gallery wall, I started by collecting various frames and artwork I already had. Since I mainly had black and silver and some ivory mats, I decided to stick with that theme knowing I wanted to use just black and white photos. This was the first layout I came up with. (Notice the brown dinner plate. I liked the idea of using a circular piece there to break it up a little, but I didn’t have anything at the time that would work. I also wasn’t sure what to put in the lower right corner. Hence the ‘?’)
I eventually found a clock (on Kohls.com) that I loved. Even though we already have a clock on the mantel, this one was the perfect size and I really liked the skeletons keys on it! So I went for it. I also swapped out the silver frame with the ‘&’ for a black one that I found at Home Goods. I felt there was too much silver. I also swapped the small, silver square frame with the medium, rectangular silver frame for better spacing. I was almost there. I still needed something for that lower corner. I had thought about just making a piece of artwork out of scraps of wood we have. But then I came across another great frame, this time at Target. Finally, it was set to go!
 To hang it, we started by using the original measurements and marked off the corners on the wall.
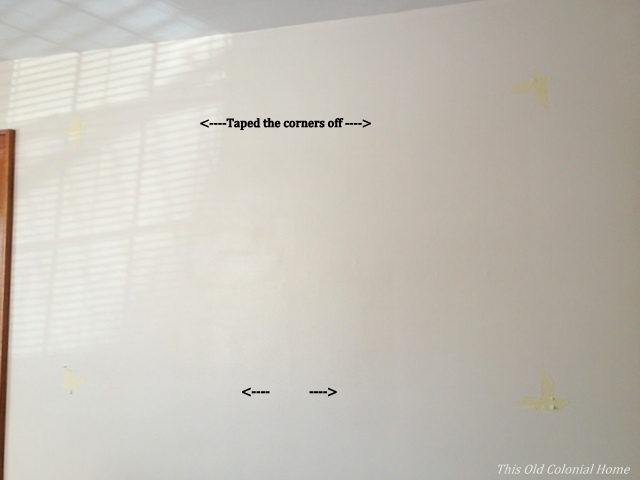 Jamie then took over the hanging process. He started by doing each corner first then working his way in, fixing any spacing issues or slight measuring errors along the way. (Luckily, any mistake holes just get covered.)
 Here’s what it looked like when he was done.
 And here’s how the absolute final product looks with all the appropriate photos in it. I love how it turned out!

 I used scrapbook paper in some of the frames.
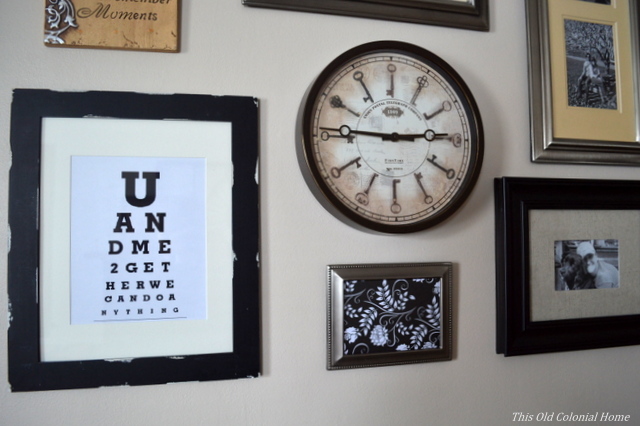 I decided to nix the ‘&’ and printed a free and custom eye chart from http://www.eyechartmaker.com. Bonus points if you know what it says!

April 25, 2014 at 4:13 pm
I LOVE this! So glad it worked out for you — it looks fantastic! xo
LikeLike
April 25, 2014 at 4:36 pm
Thanks! And thank you for the inspiration!!
LikeLike