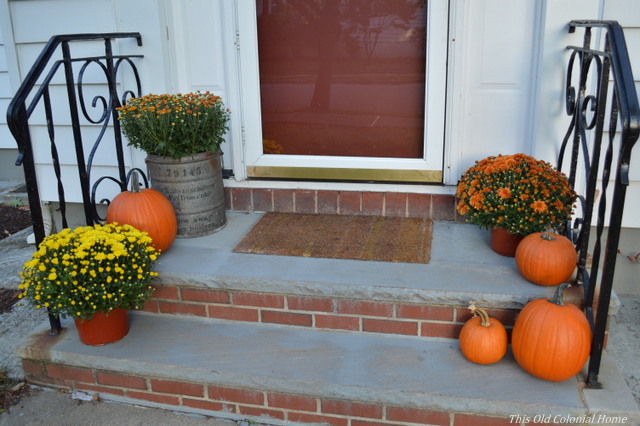
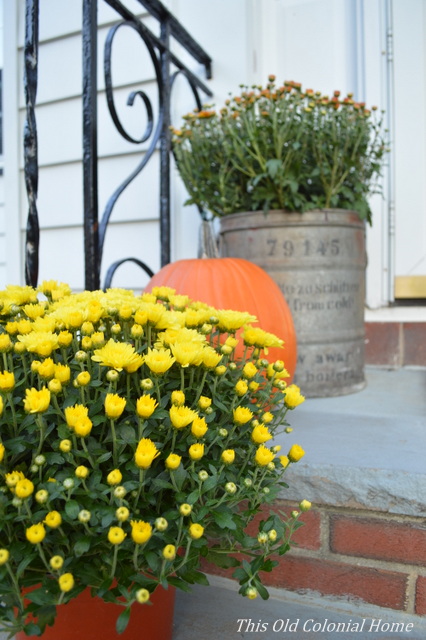
Our house always gets decked out for fall. Halloween not so much. But when Stephanie over at Sandpaper and Glue invited me to take part in a Halloween House Tour, I couldn’t say no. I knew it’d be a fun challenge so I graciously accepted.
Making use of items I already had and picking some things up along the way, I’m pretty happy with how it turned out.
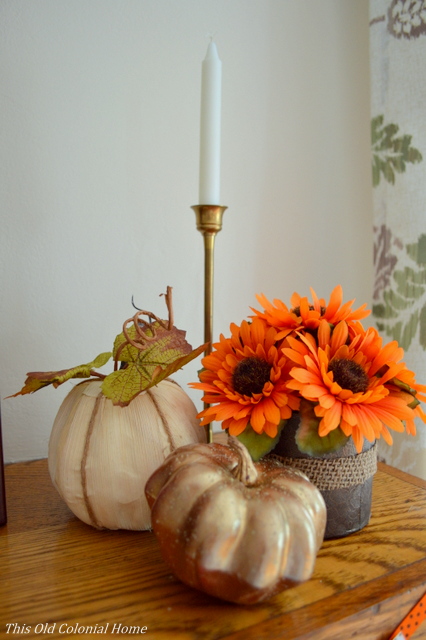
Let’s start in the living room. Originally I was only going to do a banner on the mantel, but when I went to Michaels the other day for ribbon they were having an awesome 50 to 60% off sale. So of course I bought some stuff. (I think I’m addicted to sales! The first step is admitting it.)
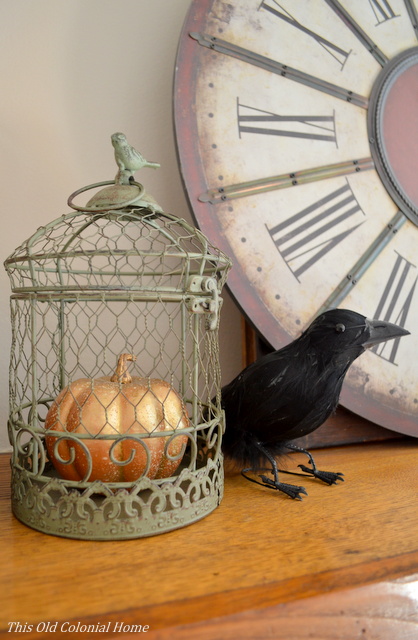
 The pumpkins, crow, and cage were part of that deep discount, so in my basket they went. I then managed to put this display together at the last minute. I think it adds a nice, subtle Halloween touch.
 As for the banner, it was super easy to make. I just cut out flags using leftover scrapbook paper I had and used double-sided tape to attach it to the ribbon. (Yes, I did actually buy ribbon too when I was at Michaels.) I also made the bats, but there’s more where that came from … as you’ll see in a moment.
 Next, let’s move over to the dining room. I had some fun in here. First, I made a centerpiece using a witch’s hat.
 I stuffed the hat with grocery bags to keep it from flopping over. Then I just laid a leaf garland around it, added a little black bird, some faux black roses and this adorable spiral pumpkin that I found in the dollar bins at Target. (I wish I could say I made it, but I didn’t. Boo. <— No pun intended!) I also added two gold candles and put a spider on one of them.

 (Source list in case you’re wondering: hat, bird, spider – dollar store; roses, candles – Michaels; garland, candlesticks – already had.)
Second, I put together this fun display. The wooden chest I had picked up at an estate sale over the summer. I filled it with blankets and then used a leaf tablecloth we had to cover them. I put sticks, pinecones, leaf garland, and a pumpkin on top of that. I then added cobwebs and spiders from the dollar store.
 As for those bats – they were really easy to make. I printed a template I found online (I can’t draw to save my life), traced it onto black cardstock and cut them out. I then bent their wings just a little to give them some dimension and so they look like they’re flying.
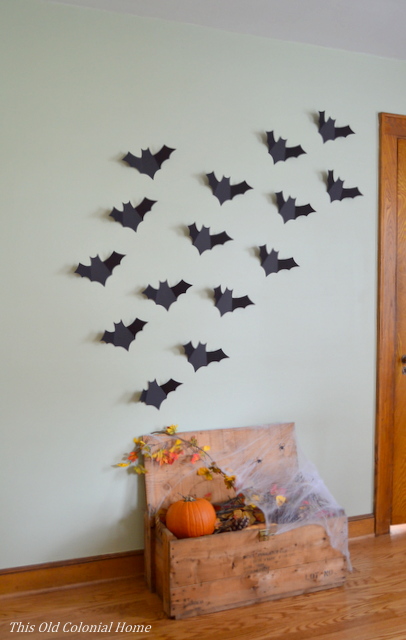 Last, but certainly not least, let’s walk through our back hallway where I dressed up a bookshelf. I had the most Halloween fun with this!
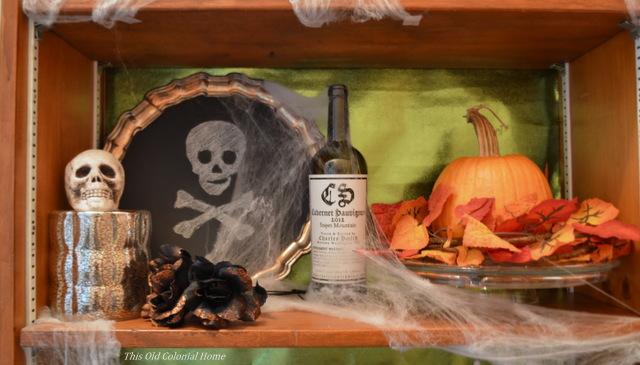
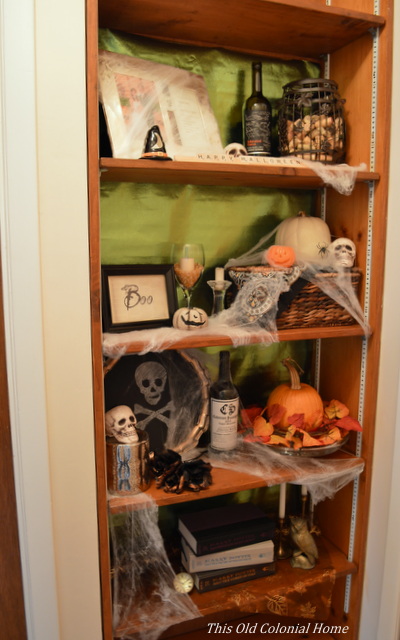 I started by lining the back of the bookcase with green wrapping paper. Then I added cobwebs and different pieces that I had collected. Here’s a closer look at each shelf.
 I love using Scrabble tiles to spell out things for holiday décor. I also love using empty wine bottles. The black and orange label on this one was perfect. You could also use them as candle holders!
 I love the Boo sign. It was a free download here and even prints with that aged look. Another free trick I used was taking a wine glass, filling it with popcorn kernels and inserting a votive candle. Easy, yet festive.
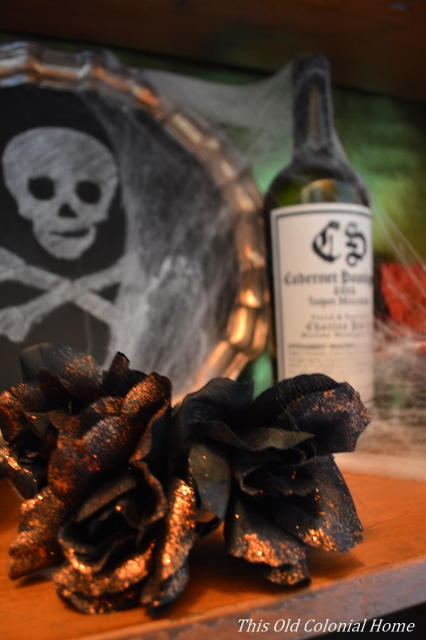
 I used another wine bottle with a cool label here. I also used a cake stand for the pumpkin to sit on. And I found a skull and bones template online and traced it onto my DIY chalkboard platter.
 I could have bought fake spell books, but being a Harry Potter
 nerd fan I knew these books sans dust jacket would be perfect for Halloween. Brilliant!
And there you have it. That’s my Halloween House Tour. Thanks for stopping by! Be sure to swing by the other bloggers’ homes to see their spooktacular décor!

Stephanie – Sandpaper and Glue

Gretchen – Boxy Colonial

Lory – Designthusiasm

Kim – The Kim Six Fix

Kat & Cam – Our Nerd Home
Partying with Bless’er House | DIY on the Cheap | The Shabby Nest | Live Laugh Rowe | Living Well Spending Less

 Isn’t she a cutie?! And it was only $5! Whaaat?!
 I think the yellow goes well with the pillows on our bed and helps brighten up the room. Even though it doesn’t have drawers, I like the uniqueness of the tiered shelves.
 I even love the little crescent moon cutouts on the side. It truly is a “night” stand. Haha!
 Now we just have to find something for my husband’s side of the bed (and replace the lamps).
 We — and I mean he — may end up building a nightstand, but that doesn’t mean I’ll stop looking around. The hunt is half the fun! Don’t you agree?!