Well it’s official. The entire first floor of our house is finally all repainted. The last piece of the pie was the kitchen. (Mmm … pie.) Jamie wiped the white walls goodbye with some Mint Frost by Valspar. It’s the same color we used in our dining room. I think it makes the two rooms flow nicely together. One of the walls we left white … well only temporarily. On this wall we decided to use chalkboard paint!
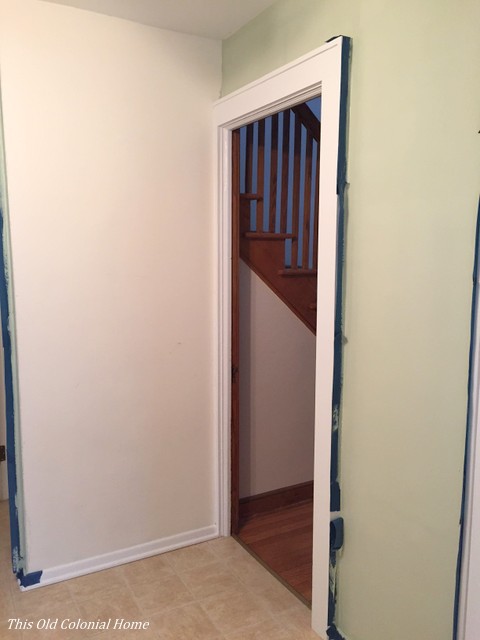 Before painting, Jamie sanded down the wall to make it as smooth as possible. We let the paint cure for a few days before doing anything else to it. And really it sat bare for longer than it needed to because I couldn’t figured out what I wanted to do with it 😛
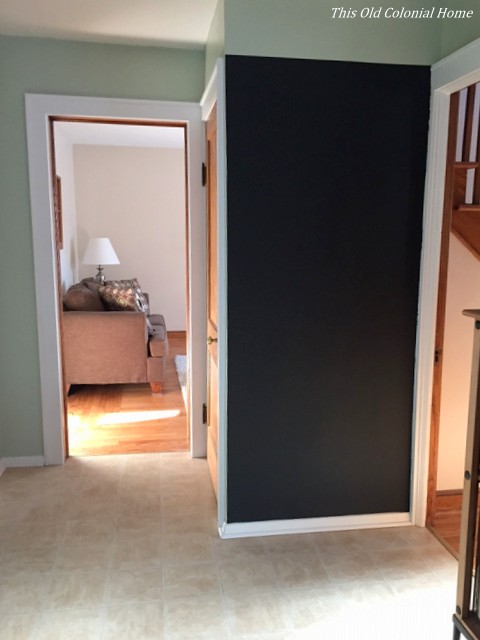 I finally came up with what I wanted to display. But before doing that, I took a piece of chalk and went over the entire wall.
 I then wiped it clean with a little soap and water. It took a few wipe downs to get all the streaks out. I also had some residue from the rag I used, so I just took a vacuum brush to the wall once it was dry. Now I was good to go!
I found some cute kitchen pun printables on Pinterest. Since I stink at drawing and can’t really do fancy handwriting, I used a method similar to Lauren’s over at Bless’er House. I printed each pun then traced over the letters and design on the back side with chalk. Then I taped the sheets of paper to the wall and went over each letter and design on the front with a pencil. This pressed the chalk onto the wall, transferring the image. I could then easily color in or trace any areas that needed it. This is what it looked like after I did all four.
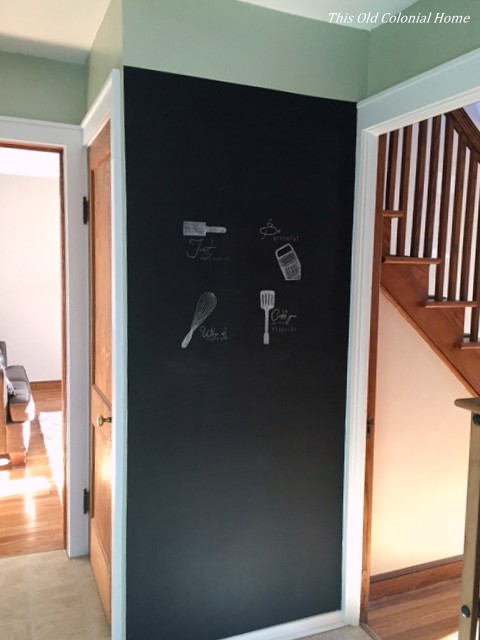 It still needed something though. So I added a little border around it, included another saying (that one I did freehand, woah!), and hung a cute little bucket to hold chalk.
 But I still really wanted something along the top. I had been thinking about an EAT sign. And it must’ve been fate because I found this beauty at Michael’s!
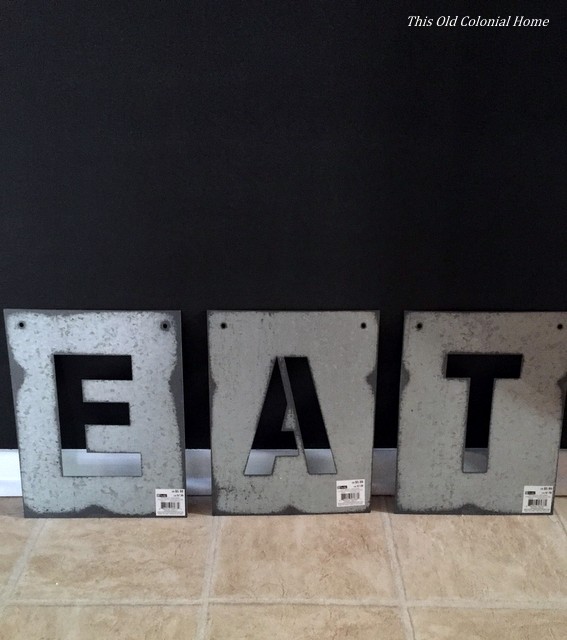 Here’s the final product. I love how it turned out! It think it’s the perfect dose of industrial decor.

 What cool projects have you made with chalkboard paint?