I’ve been debating whether to post about the baby shower one of my best friends recently threw for me and our little one on the way. It was such a beautiful event and there were so many little details that I decided I just had to share!
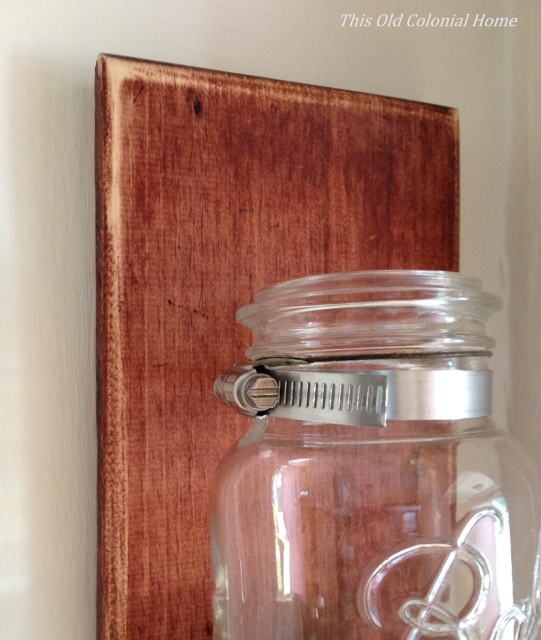
So first let me start with the fun details. Check out these centerpieces!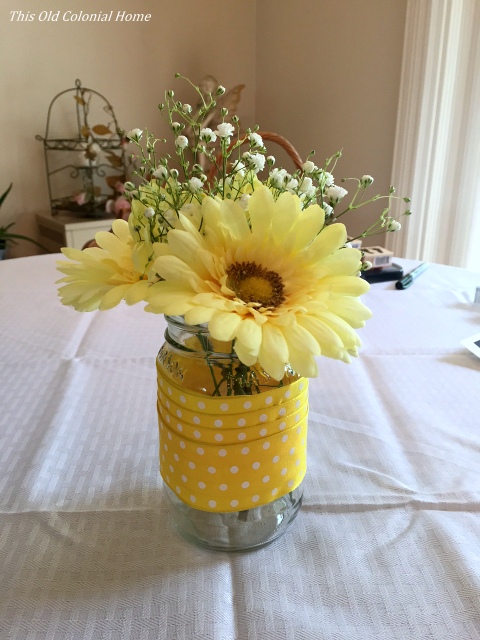
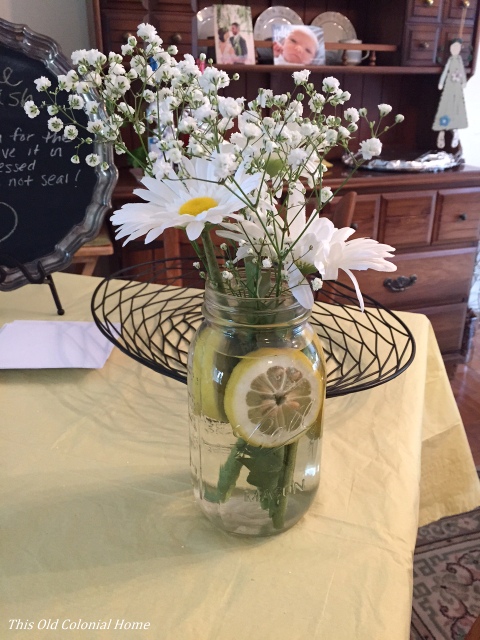 They are so simple, yet so sweet. There’s just something about flowers and mason jars!
The punch was cute and creative — made to look like a bubble bath with rubber duckies!
 My talented friend also made this adorable fruit bassinet and diaper cake!
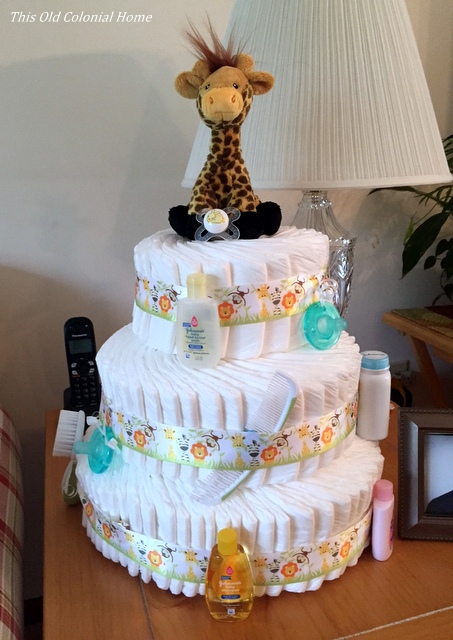 I hate to have to take it apart, but those diapers are certainly going to be needed 🙂
The shower games were kept to a minimum. We did the one where guests cut a piece of string to how big around they think I am. It was silly, but fun. There was also a pool for people to guess the gender and date of Baby M’s arrival using little pink or blue feet stamps. *Winner will be determined once the baby makes his/her debut!
My favorite activity was the wishes that family and friends wrote for the baby. I have a little project up my sleeve for those. Stay tuned and look for a sneak peek on Instagram!
And before guests left, these cute favors of popcorn were handed out. Ready to pop! Haha, get it?! 😛
Now for the more serious side. As I said, the day was truly beautiful. It was filled with so much love. The best moment ended up coming from my husband, who wasn’t there. I was opening the card to the very last gift and I was surprised when I read that it was from him! I was taken aback and started to tear up. When I opened the gift I saw it was a brand new Nikon camera! I couldn’t help myself and started to cry. (Thanks hormones!) It was such a thoughtful and unexpected gift. It might sound silly, but in that moment I felt a true sense of love from him. He knows how much I love photography and it meant so much to me. The camera won’t just be used for this little blog, but for capturing so many moments that lie ahead with our child … as parents … as a family!
I want to say thank you to all of our family and friends for their generosity and kind, giving hearts. It means a lot to Jamie and me knowing how much this baby is already loved and cared for as we prepare for his or her arrival.