This Old Colonial Home

Filling our house with love and a lot of DIY


Leave a comment

A Little Paint Goes a Long Way

We’re slowly but surely making progress on changing our walls from being all white. This weekend I tackled the upstairs bathroom while my husband took on the dining room. Isn’t it amazing how just a coat (or two) of paint can make such a difference?

For the upstairs bath we both wanted a light blue. We decided to go with Tinsel Beam by Valspar. And I must say I love it! This bathroom was meant to be blue – now it pops!

bathroom before

Before

bathroom after

After

Note: I really can’t take all the credit. Jamie actually painted the first coat awhile ago. I just added the second coat :-p

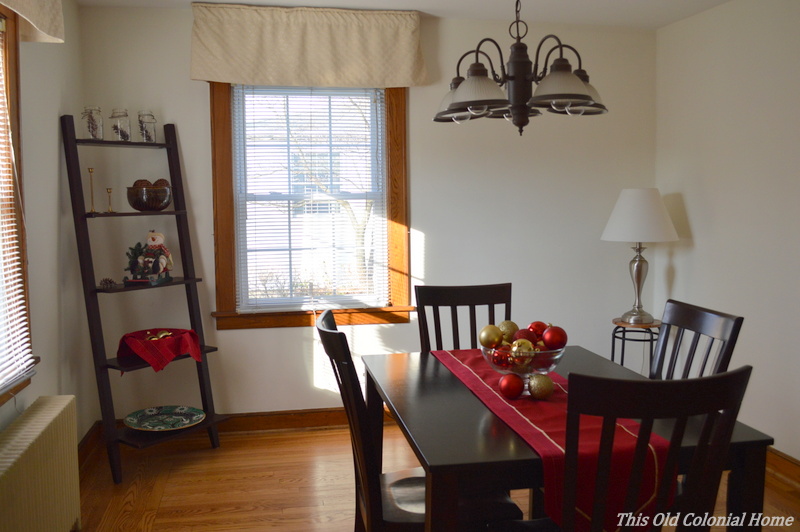
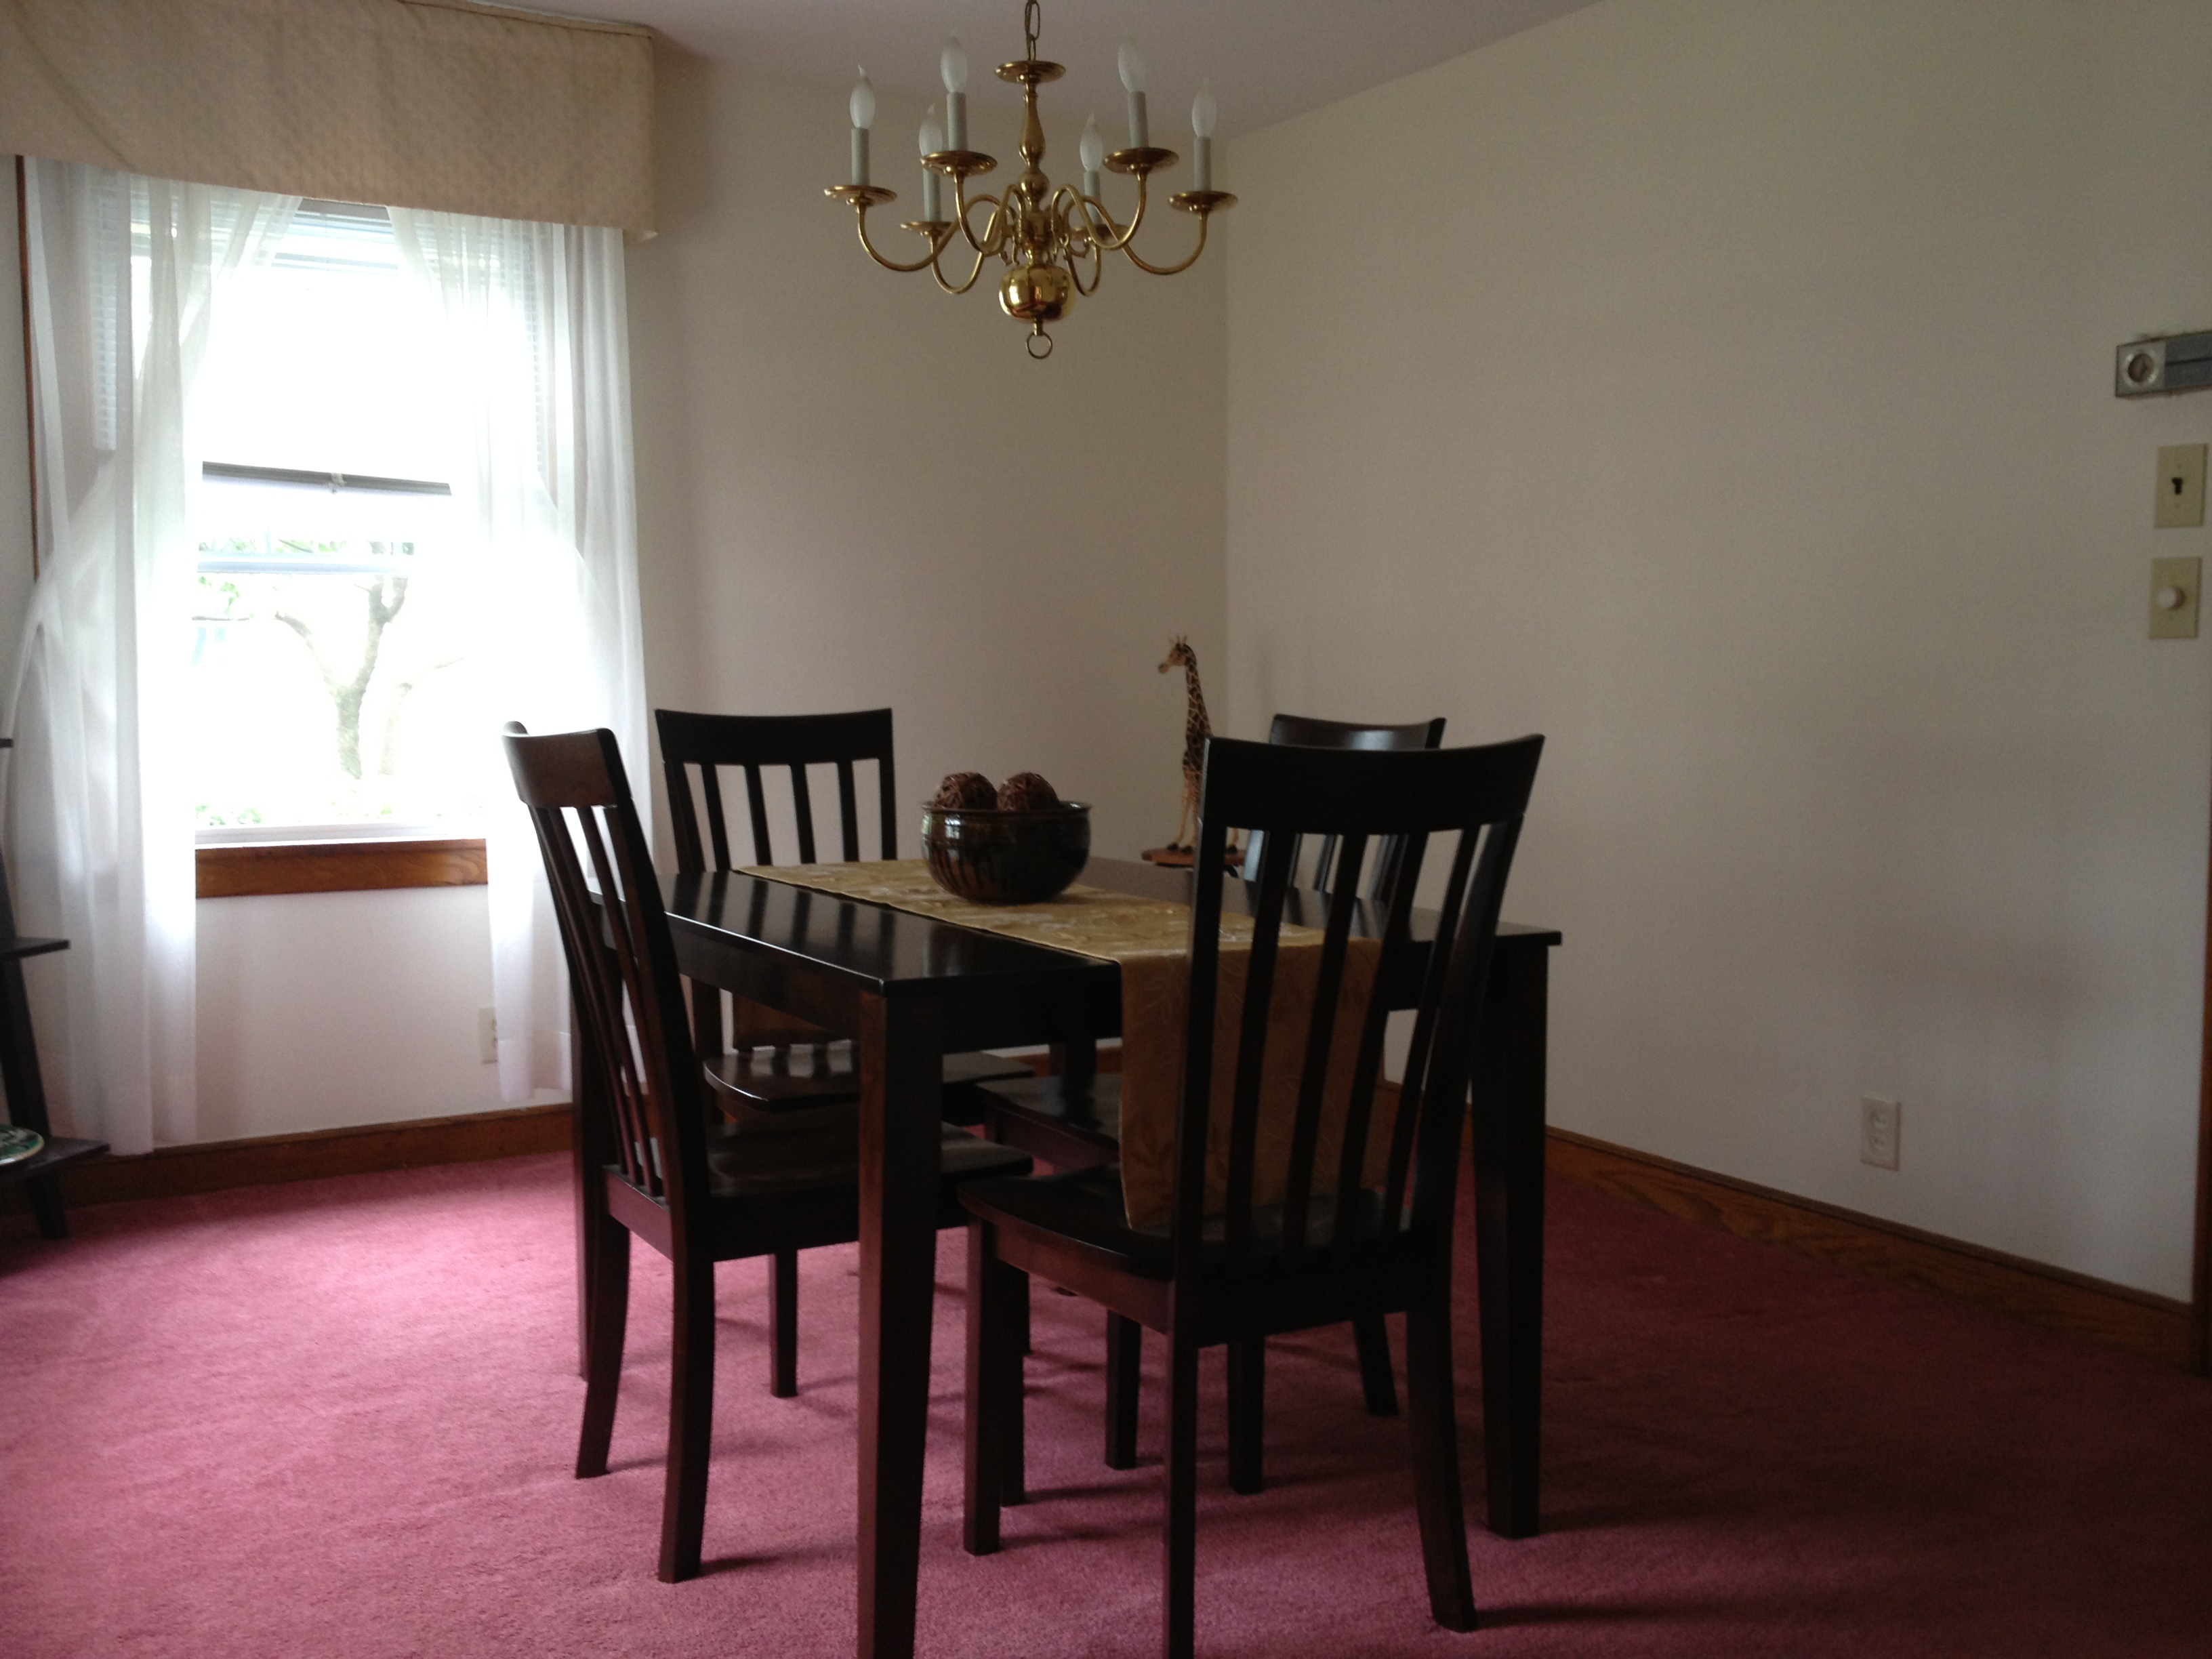
As for the dining room, we both agreed we wanted a sage-y color. We chose Mint Frost by Valspar. Again, I’m so happy with this color! Jamie did a great job! Here’s a before and after:

DSC_0007

Before

dining room

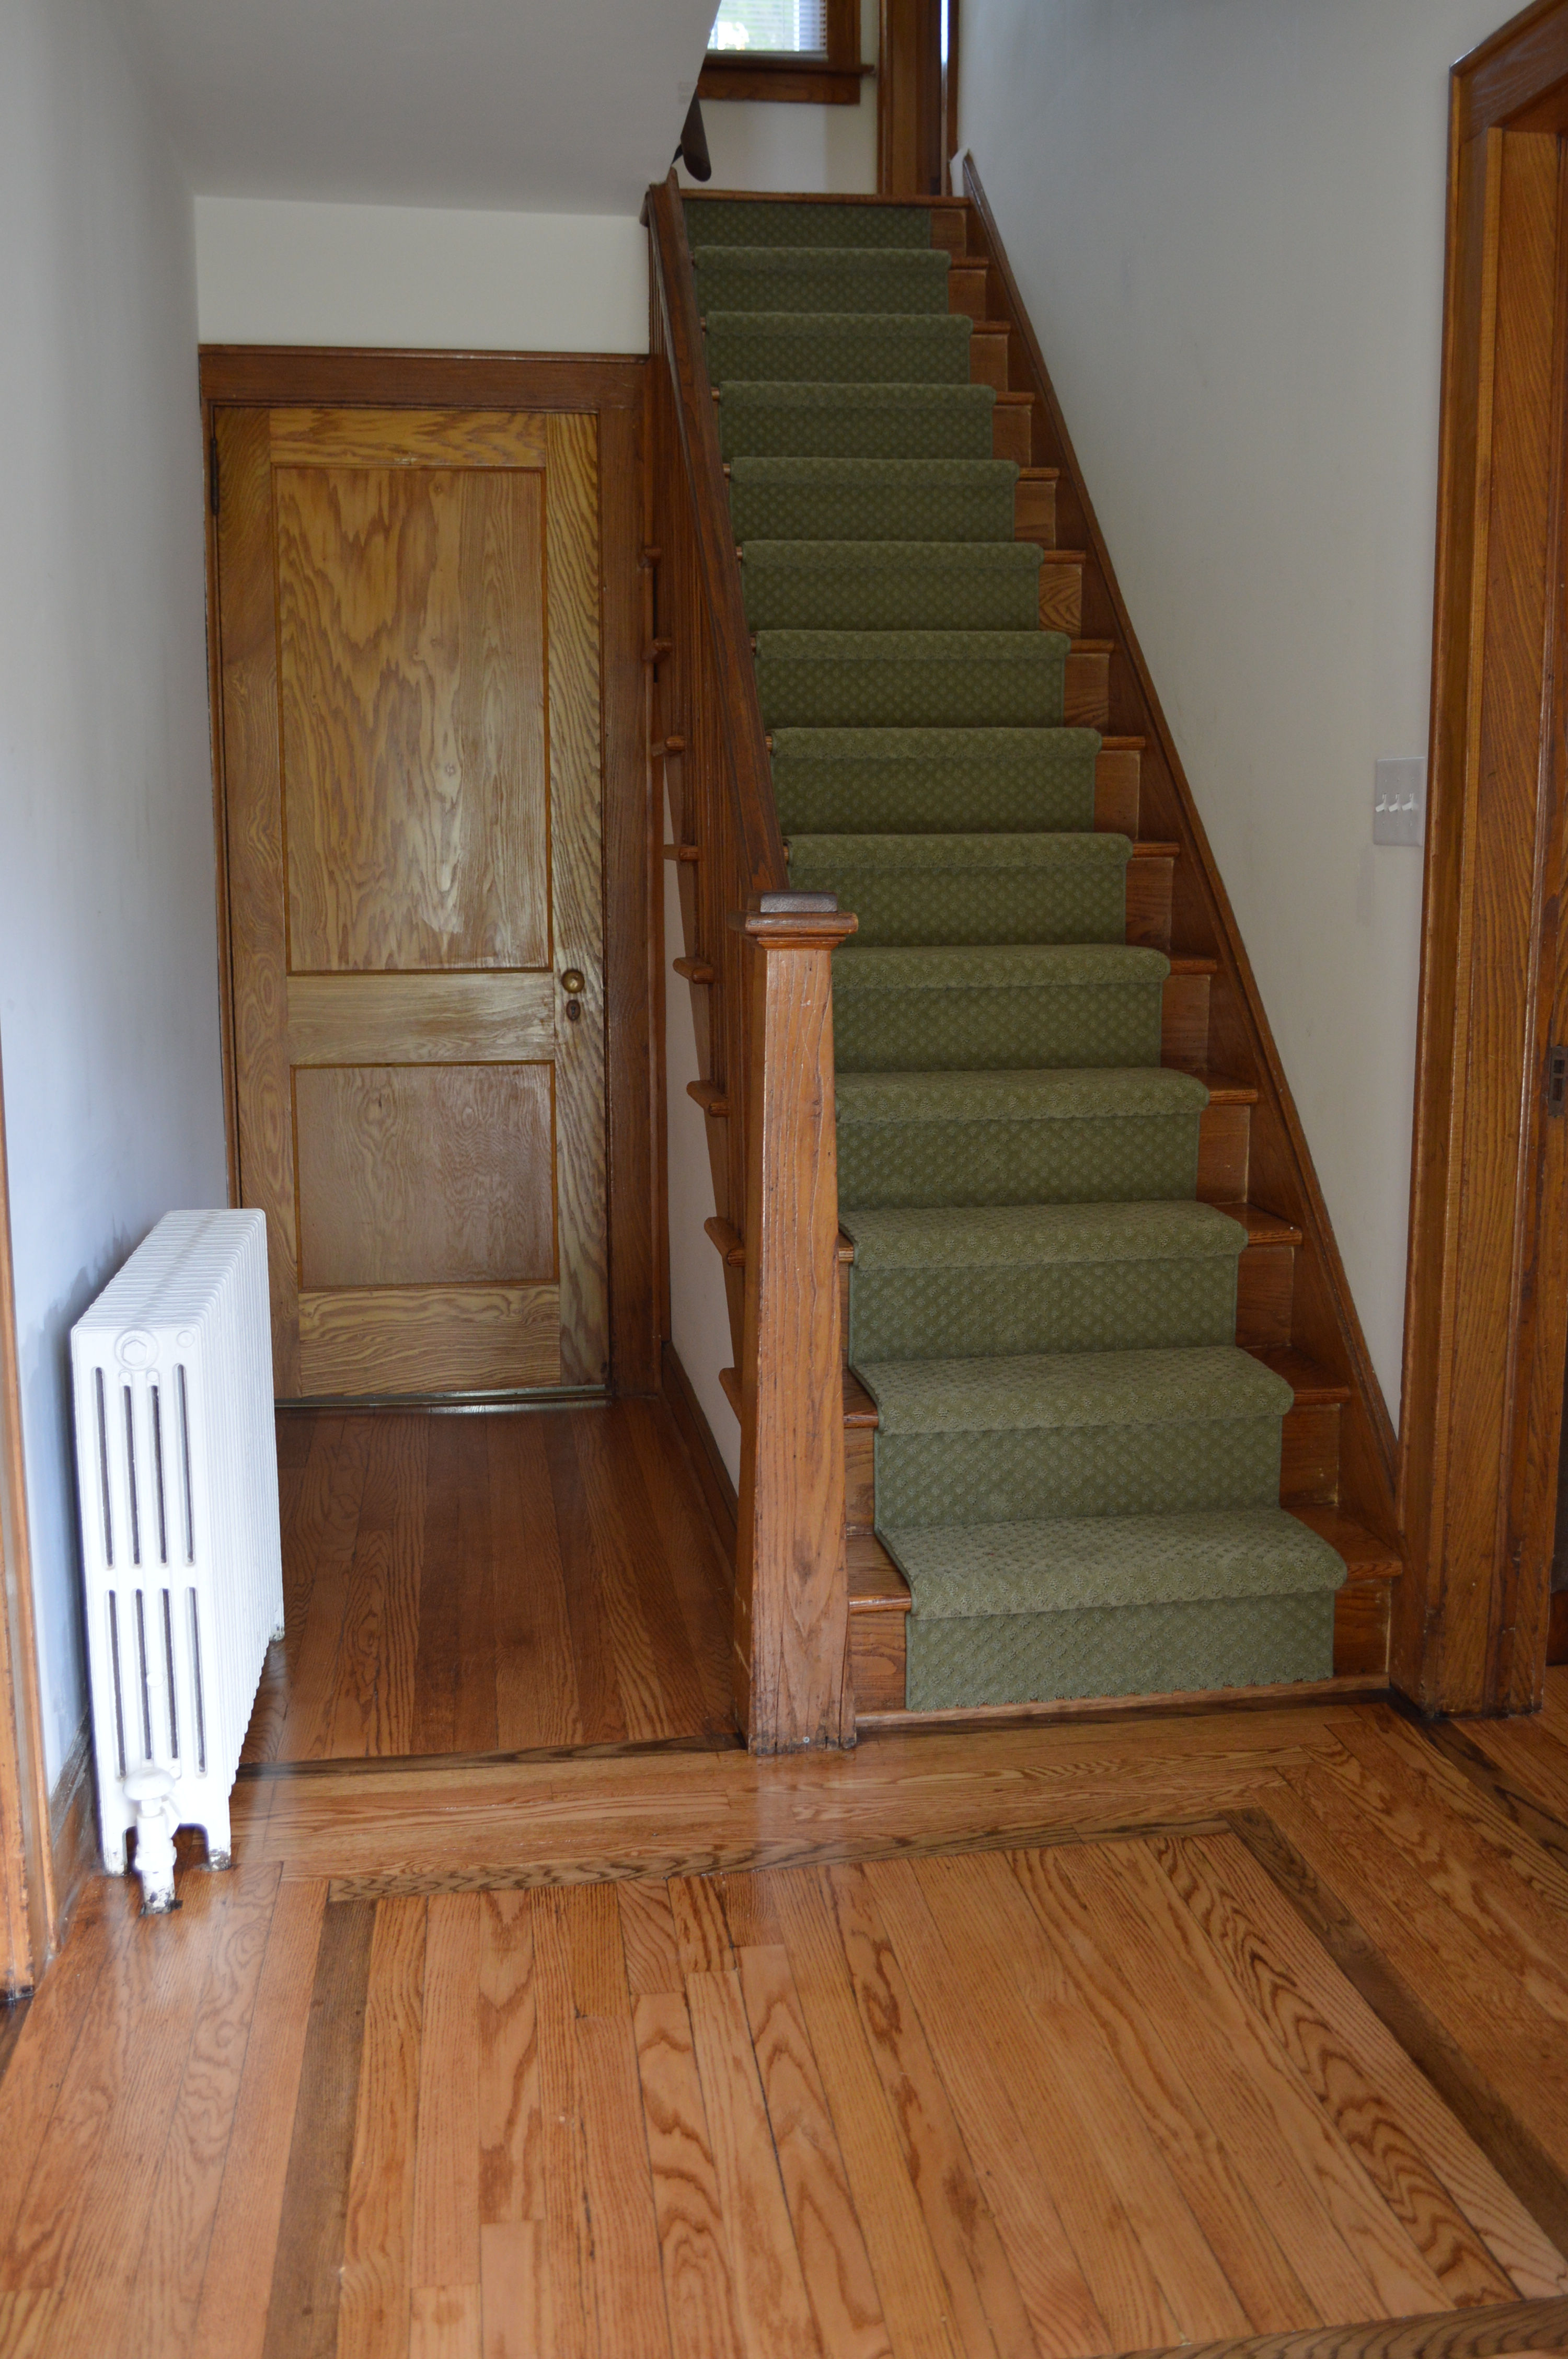
And just for fun here’s a panorama of our front three rooms – dining room, entryway/hall and living room. The entryway/hall was painted awhile back too. The color is Cream in My Coffee by Valspar. It’s a shade lighter than the living room, which is Desert Fortress by Valspar. (We’re big fans of Lowe’s paint if you couldn’t tell!)

panorama

Next up for paint is the family room and then the master bedroom. What are some of your favorite paint colors?


3 Comments

Deck the Halls

Since Thanksgiving fell so late this year, we quickly had to turn from thankfulness to the Christmas craziness. I don’t know about you, but I just can’t allow myself to get into the holiday spirit until after Thanksgiving, even if that does mean there are only 4 weeks left (eek!). That being said, we wasted no time this past weekend getting ready for the first Christmas in our new home.

The first thing I tackled – after cleaning – was the mantel. I didn’t really have a plan of attack. The only thing I knew I wanted to incorporate was a 6-pane window I found in the attic of our garage. So I started with that and worked around it using items I already had. One issue I encountered – there’s an outlet on the wall above the mantel, which you can easily hide with a picture or clock, but with a window, not so much. In comes the “Happy Holidays” sign. I decided to hang that from the window using gift wrapping ribbon and voila, the outlet is now strategically hidden!

window-001

I continued to go through our Christmas storage bins, picking out anything that caught my eye and might work. I used pre-lit garland, candle sticks, my favorite chalkboard platter, and real pine cones left over from my Thanksgiving place card holders! Oh and remember those two wooden sleds I snagged for free (see post here)? I used the smaller one by the fireplace, adding a little faux garland to it. Here’s the final result:

DSC_0022-001

 DSC_0023 DSC_0025 DSC_0026  DSC_0029-002DSC_0033

In the dining room, I changed out the table runner and added a simple glass bowl filled with ornaments. I also put a few decorative items on the ladder shelf, including 3 mason jars with pine cones inside, to carry over from the living room.

DSC_0057

DSC_0036 DSC_0040 DSC_0043

Outside, I used the larger sled on our front steps. I added real pine branches, which I found in someone’s curbside leaf pile, and I used that same gift wrapping ribbon for the bow! I am beyond happy with this decoration. It was completely free!

sled

And, of course, it wouldn’t be Christmas without lights! I placed candles in all of the front windows and my husband adorned the bushes. I love white lights, they’re so classy!

DSC_1046

Next weekend we get the tree! What are some of your decorating tricks?


Leave a comment

There’s No Place Like Home

After 4 months, our house is finally starting to feel like home! Every change we make, it becomes more and more our own.

In the living room, we finally have furniture. It’s been an empty and echoey room up until now. We picked up a sectional my mother-in-law had for us. So that went in the family room where our nicer couches had been, and we could finally move these into the living room.

DSC_0002

DSC_0003

We also changed out the chandelier in the dining room. That wasn’t something we planned on doing right away, but my dad had this beauty lying around and gave it to us. I think it really softens up the room and even matches our table really well! It had been a gold candle chandelier before.
DSC_0005

DSC_0006

And the biggest difference is in the entryway. We had a stair runner installed last week. I love the sage color! We also took down the handrail that ran up the wall, which I think gives it a much cleaner look.

DSC_0011

DSC_0012

It’s all about baby steps (no pun intended!) What changes have you made to make your house feel more homey?


Leave a comment

We’re Floored

Our hardwood floors are finally finished, and wow what a difference! We brought professionals in to do the job. For the past week they worked hard to bring them back to life. They spent a few days just sanding them down. Then they stained them Minwax Golden Oak and added a feature strip in the entryway per our request. They added several coats of water-based poly and finished it off with shoe molding (that’s the molding that fills the gap between the baseboard and the floor). I’ll let the pictures speak for themselves, with a reminder of where we started just a short time ago.Colonial house living room with fireplace beforeCarpet ripped up in living room hardwood floors refinished minwax golden oak Colonial house dining room with carpet before Dining room with carpet removedDining room hardwood floors refinished minwax golden oak Center hall colonial stairs with carpet before Carpet removed from stairs Entryway floors refinished Minwax golden oakEntryway landing with unfinished floors Entryway floor feature strip in progress Refinished entryway landing with feature accenting herribone pattern


Leave a comment

Uncovering the Past

I will never understand why people cover up hardwood floors. Obviously styles change throughout the years, but I just feel hardwoods are timeless. So after years of being hidden under carpets, our 75-year-old floors are once more revealed! My husband and I, with some help from my father-in-law, pulled up the carpets ourselves. None of us had ever done it before, but it was a fairly easy – and FREE – project.

IMG_1233  IMG_1236

The carpet, padding and staples all came up with little effort. The tack strips, however, were the hardest part. The guys eventually got it down to a science. But needless to say, I wasn’t much help in that department. My job was to make sure our dog didn’t step on the nails!

IMG_1224  IMG_1247

All that’s left to unearth are the stairs. That’ll be for another day in the near future.

IMG_1239  IMG_1248

The condition of the floors aren’t too bad, but they will need to be refinished. And for that, we’re calling in the pros. I realize we could save some money if we rented a sander and did it ourselves, but for something like this we don’t want to run the risk of screwing it up! Plus, did you notice the awesome herringbone edging?! I’d hate to mess that up.IMG_1249We’re still debating whether we want to do a darker stain trim around the edge to accentuate it. We definitely plan on doing something in the entryway, but I’m torn on doing it in all three rooms. Any thoughts? Either way, I can’t wait to see these babies shine! Be sure to check back to see the final product!

%d bloggers like this: