I’m happy to report that we’re making some progress in the master bedroom! If you follow me on Instagram (@oldcolonialhome) then you know that I recently scored this awesome accent chair at Marshalls.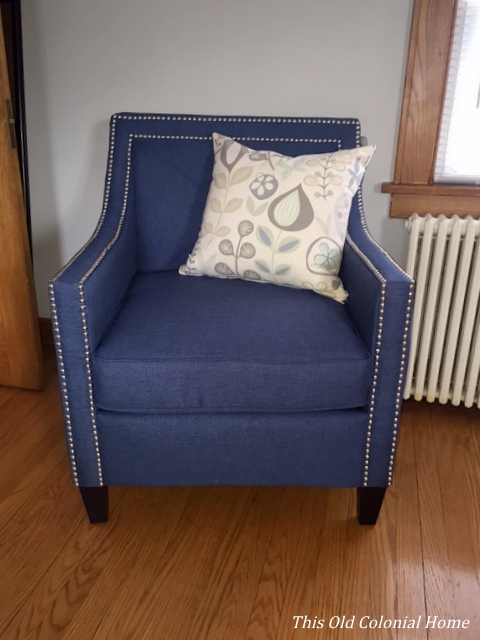 I was supposed to be shopping for a mirror at the time, but when I came across this lovely piece with its nailhead trim, I knew I couldn’t pass it up (especially when I had passed up on one similar last summer).
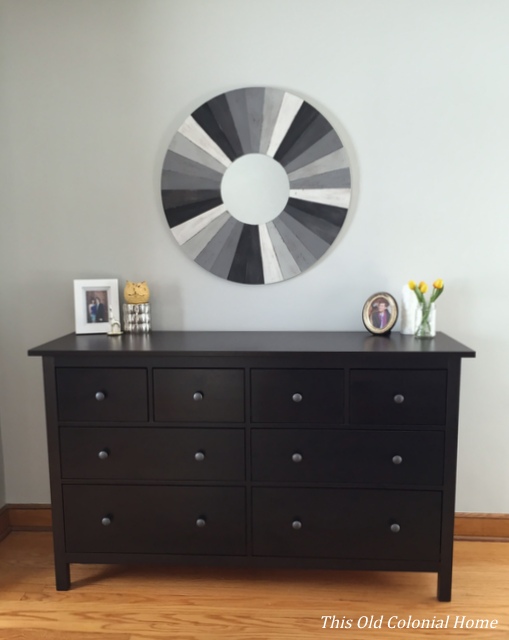
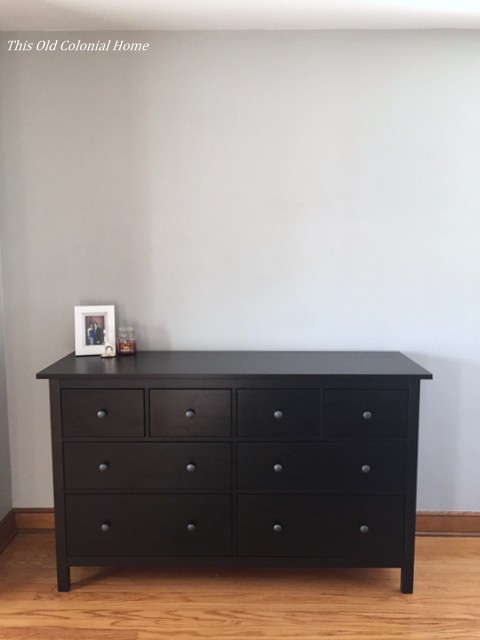
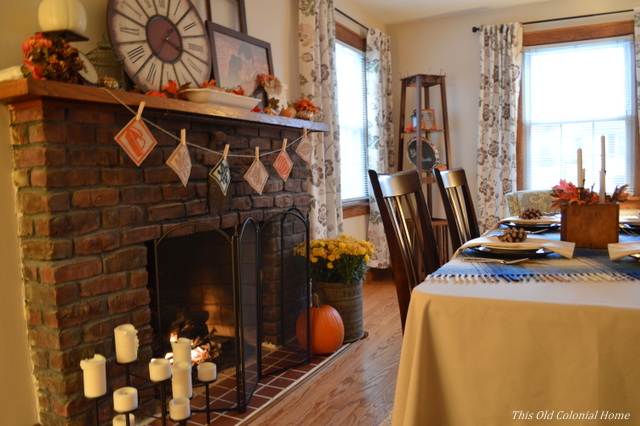
I did eventually find a big, round mirror that I was looking for to fill up the huge wall above my dresser. This rustic, wooden beauty is a HomeGoods find. But the main thing I want to share with you is our new curtains.
 I love how they turned out, but man what a process it ended up being!
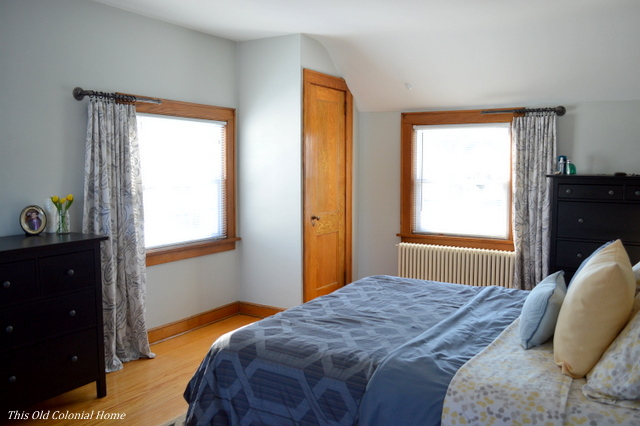
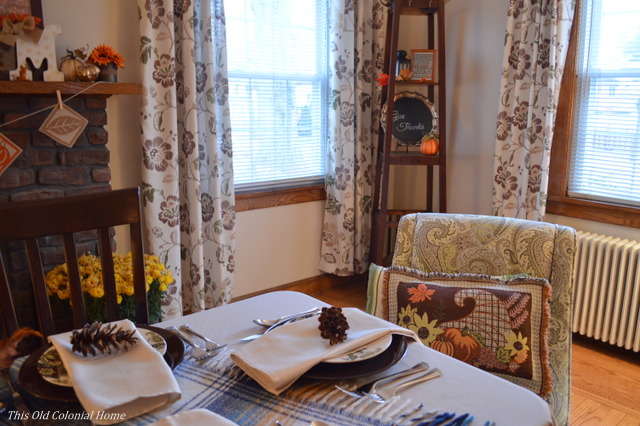
One of the issues we had was that each of the 3 windows in our room either butts up against the roof line or a wall or both.

 This makes curtain rod placement tricky, especially since I usually like to go high and wide. That wasn’t going to be an option here. I considered doing roman shades, but I didn’t like the idea of a third of our windows always being covered, blocking natural light.
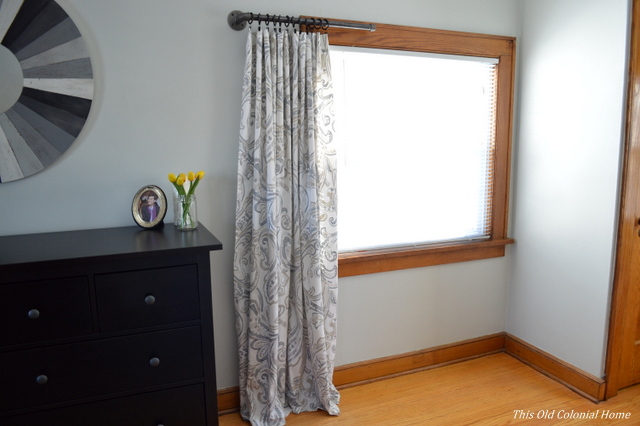
So I came up with the idea of using one panel on each window and hanging it using a rod made with black steel pipes. But instead of having two ends, we just have one. Making the rod was super easy and cost less than $20 each. Here’s what I used:
 3/4″ Floor Flange
3/4″ x 2″ Nipple
3/4″ 90 degree Elbow
3/4″ x 24″ Threaded Pipe
3/4″ Cap
After wiping down the pipes, I assembled the pieces in that order.
Another issue we encountered was the length from the top of the window to the floor. Since the windows are at the roof line, they’re lower than normal. So the standard curtain sizes wouldn’t work — 63″ was too short and 84″ was too long. But you know what’s the perfect length at 72″? Shower curtains! Did you even notice?! They were another HomeGoods happy find, and only cost $14.99 each!
So I had my curtain rod and I had my curtains, but there was one other issue — attaching the two. The pipe obviously wouldn’t fit through the holes in the shower curtain, and most standard shower curtain hooks wouldn’t fit over the pipe, and regular curtain hooks only come 7 to 10 in a pack and shower curtains have 12 slits. Oy! I was getting ready to throw in the towel. But finally I found something and ended up getting these affordable curtain rings from Ikea. Who knew such a small project would turn into such a big headache? But at least the end result turned out great and that’s all that matters!

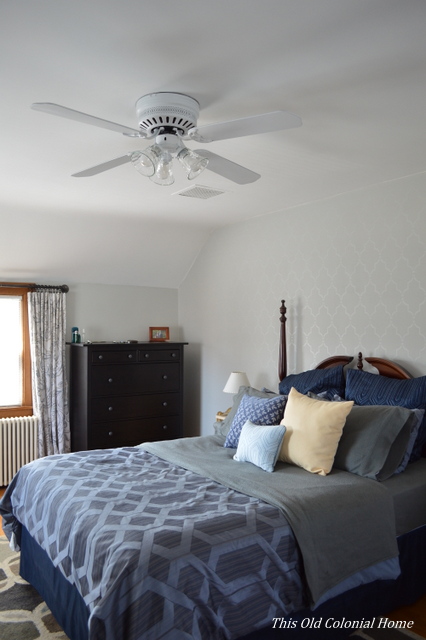
 We still have a few things left to do in here (like paint the ’80s ceiling fan, build nightstands, and replace the lamps), but our bedroom is finally starting to feel a lot more cozy!

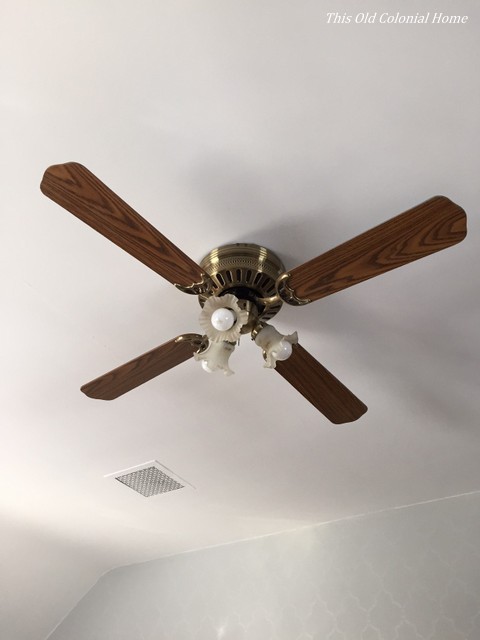 Instead of spending a hundred plus dollars on a completely new fixture, we decided to give it the ole DIY try.
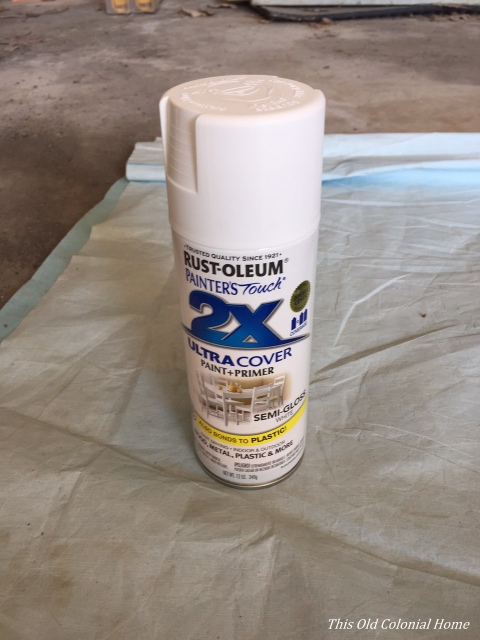 Jamie laid out all of the pieces on a drop cloth in the garage, including the screws, and gave them two coats of paint.
 Meanwhile, I went in search of some new glass light shades to replace the old ones. I came across these at Lowe’s. They’re definitely a nice upgrade and a decent price!
 We let the fan pieces dry overnight and by the next day they were ready to be hung back up.