Aside from finding the plans, I certainly can’t take any credit for our awesome, new coffee table.
It all started when I saw this lovely post on Pinterest/Hometalk, which then led me to the incredible site ana-white.com.

Courtesy Creative Little Daisy via Hometalk
If you’re not already following her – START! Her pieces are gorgeous and she provides free, easy-to-follow plans to make your own furniture — saving you some cash.
Jamie picked up the necessary materials, any tools we didn’t already have, and even got a table saw from his dad. (Thanks, Jim!)
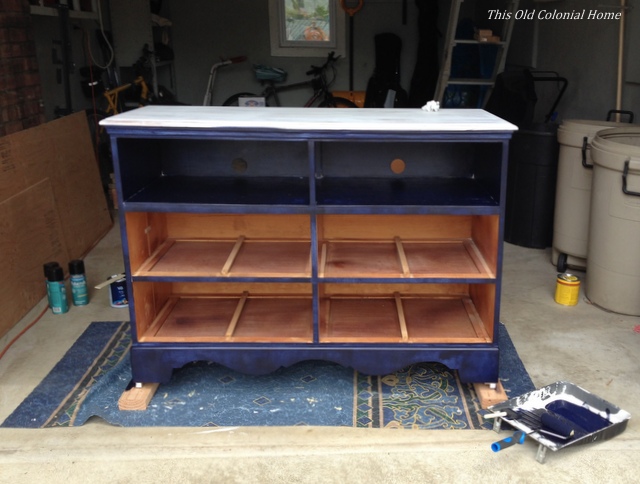
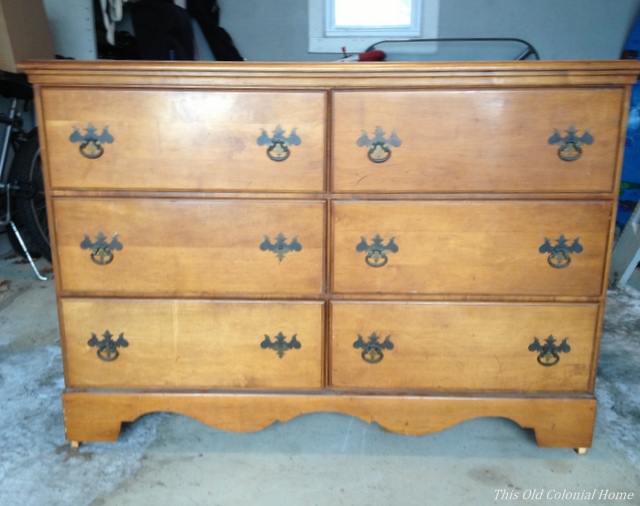
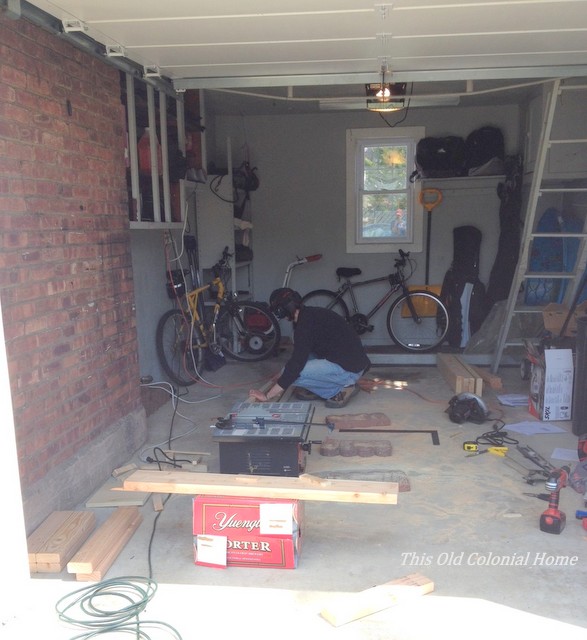 While I was working on my dresser makeover, Jamie began working on this project. He followed the cut list and then began assembling the pieces step-by-step.

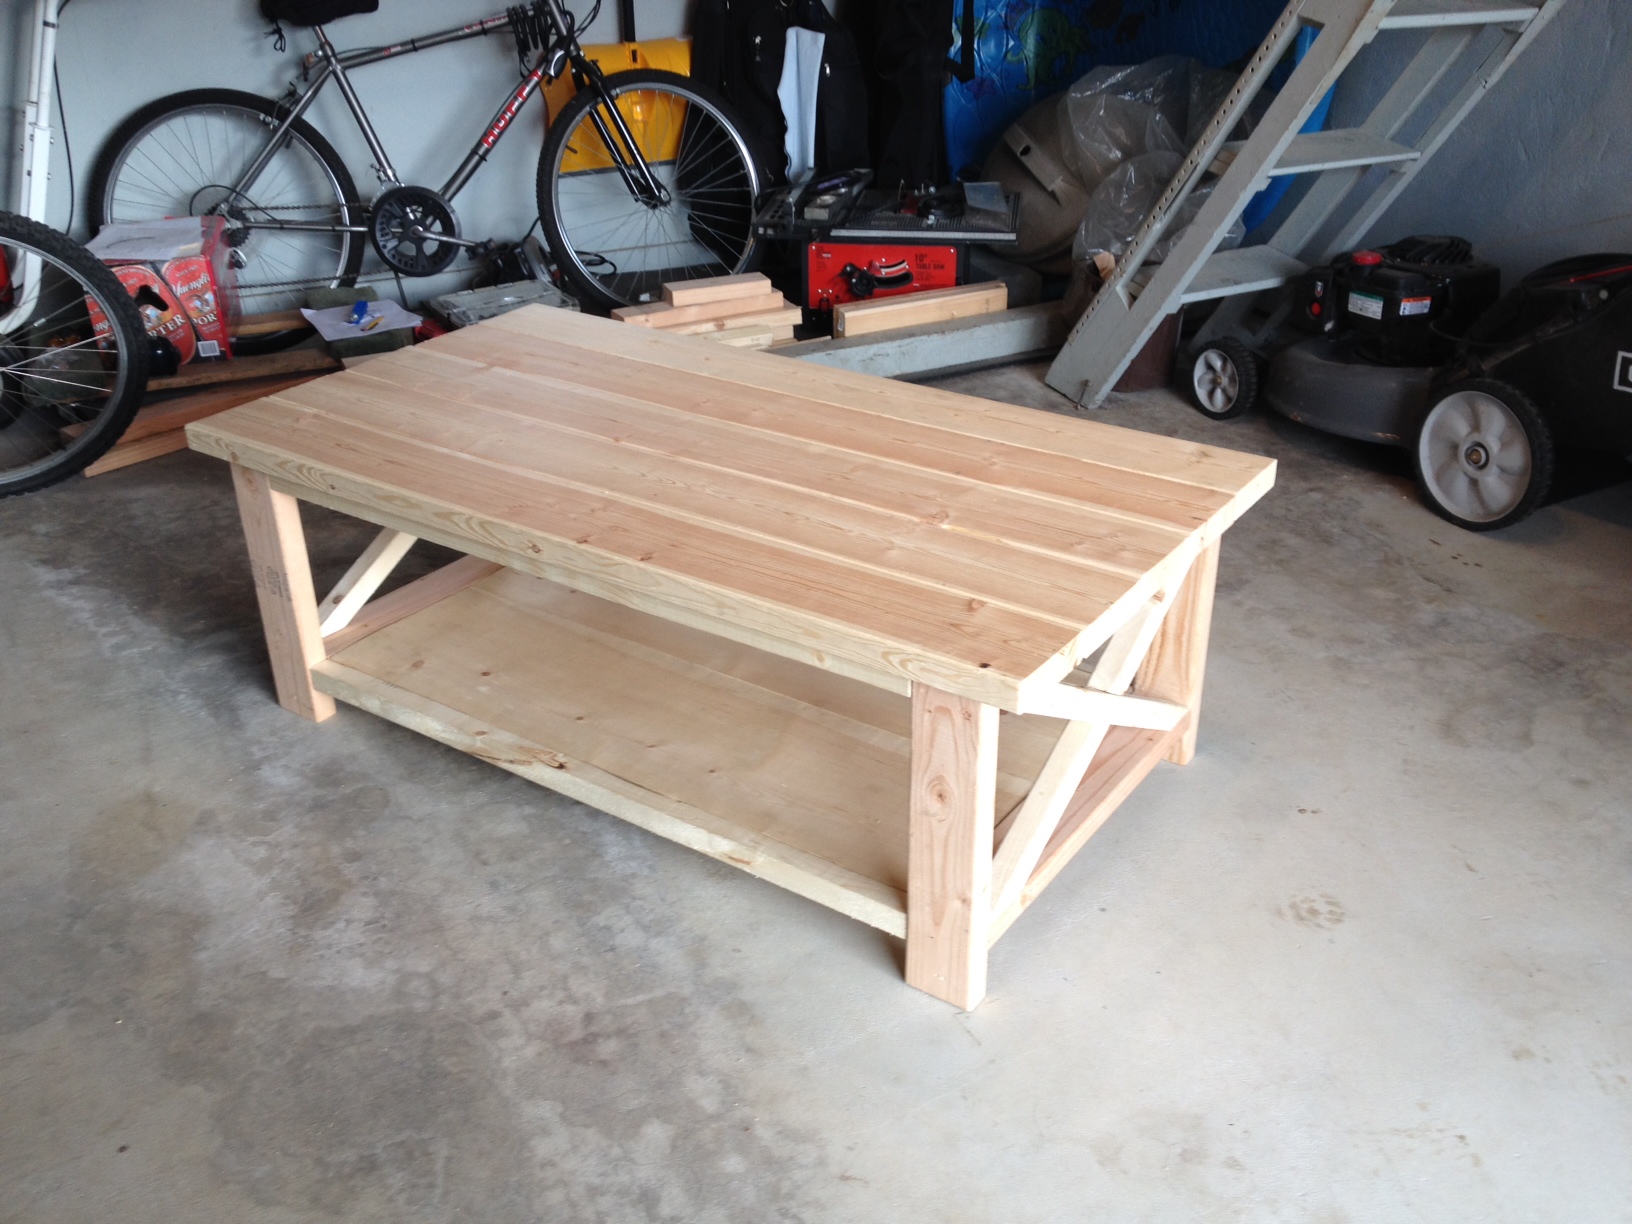
 This is what it looked like when he was done. Pretty impressive for a novice, right?!
 He did have one slight hiccup that needed to be fixed. When we brought it inside to test if it was level – it wasn’t. After taking the top off and apart, he determined that the base was level, but some of the boards on top were warped causing it to be thrown off balance. Jamie eventually replaced the boards with new ones and – voila! All better!
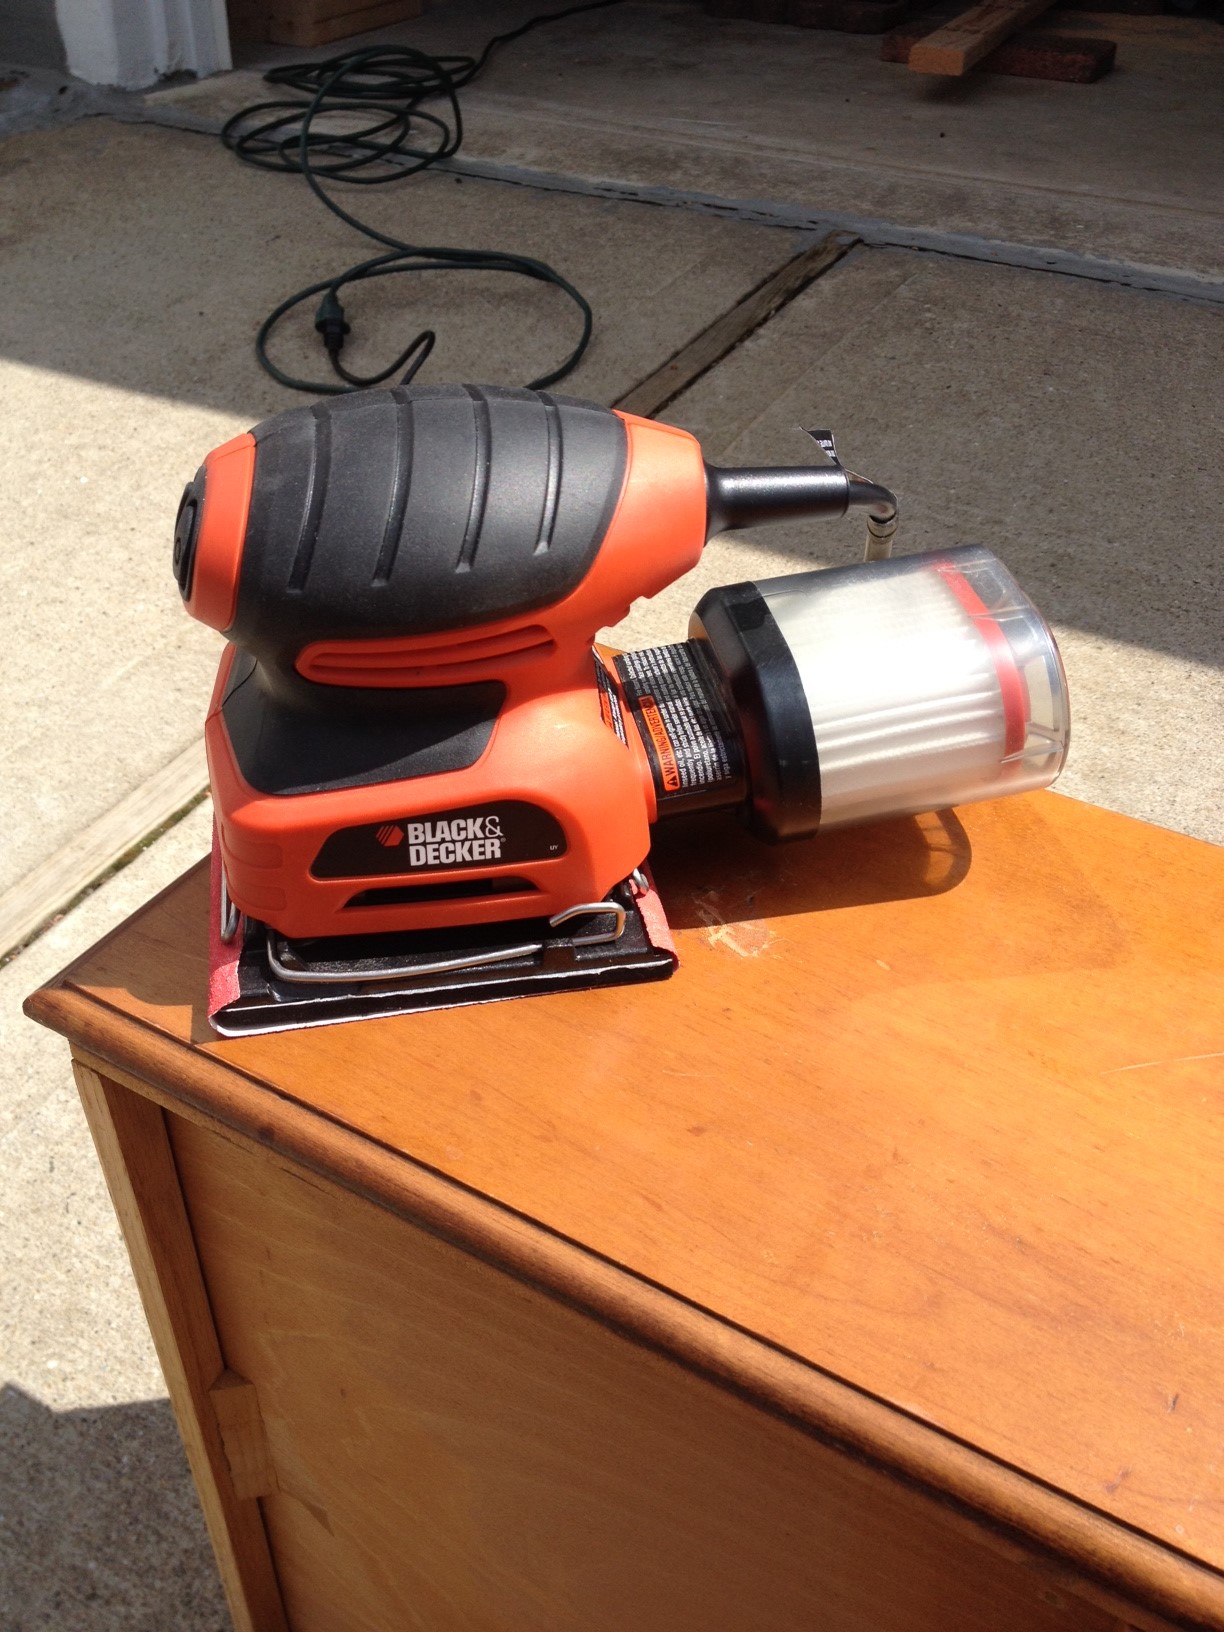
After that, he filled any major holes with wood filler and gave it a good sanding. He then applied a wood conditioner before moving on to the stain. (We picked Minwax Special Walnut.) He brushed on the stain, let it sit for a few minutes and then wiped it off with a rag.

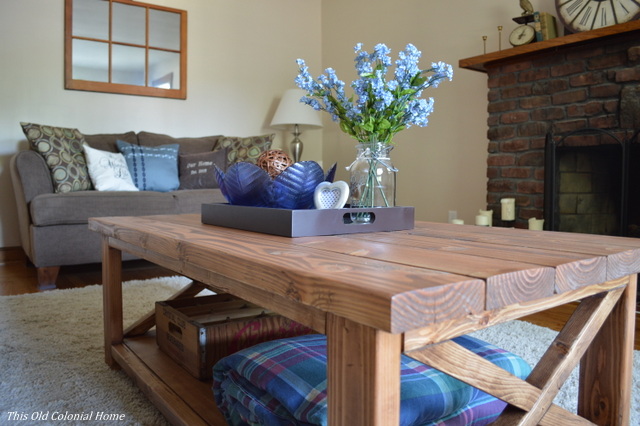
 It took 3 coats to get the look we were going for.
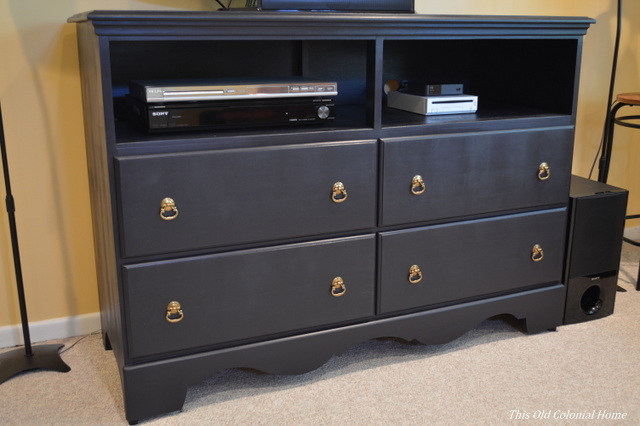
 I just LOVE how it turned out! Who knew my husband was so handy?! (I think I’ll keep him around!) Here it is in our living room, where I think it fits in perfectly!


 In the end, this project cost only about $100! Try finding that in a furniture store!


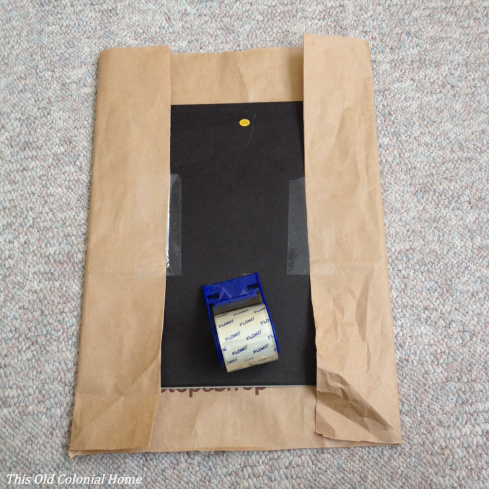
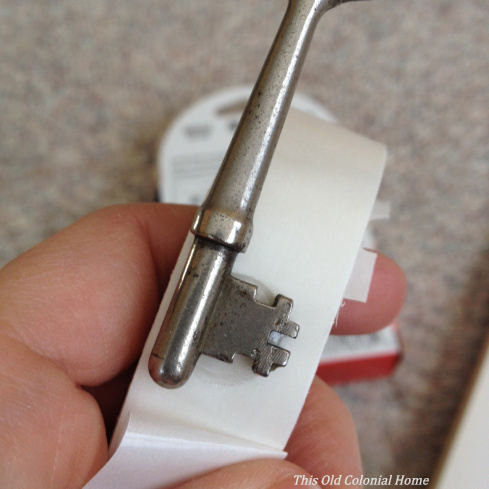
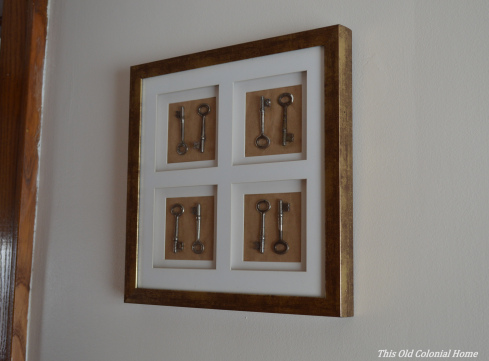
 Upon closer inspection, the trim is a little beat up and worn, but that’s what gives it character. And luckily it was never painted over (except in 2 rooms, which I hope to strip someday). That’s not bad for a house that’s pre-war. Along with the chestnut trim are chestnut doors. In fact, we have a total of 18 chestnut doors in our house if you include the closets! That’s a lot of doors! But you know what goes with all of those doors? These awesome skeleton keys!


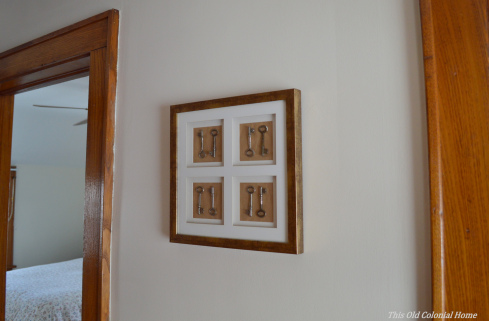
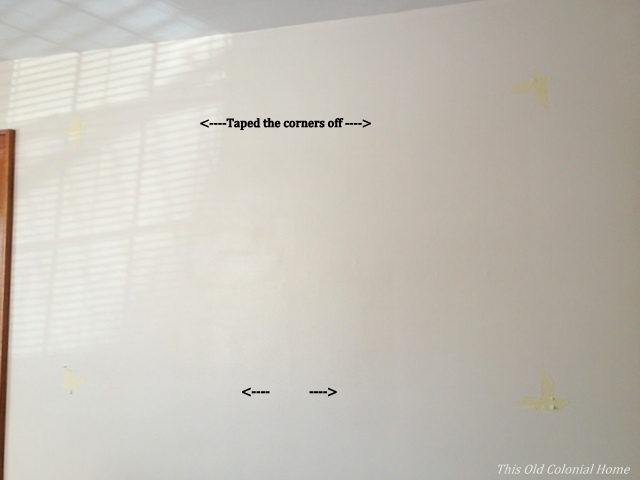
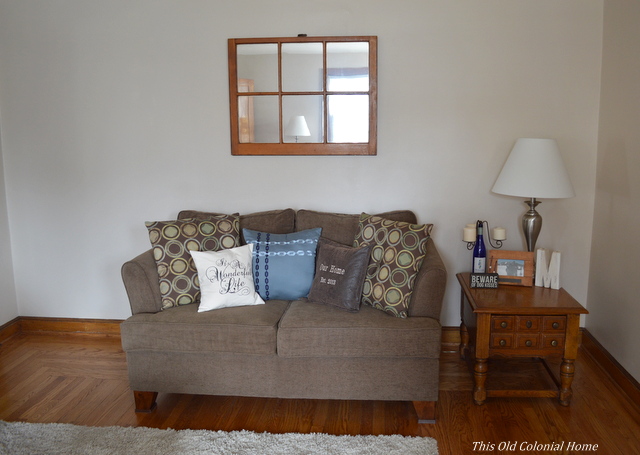
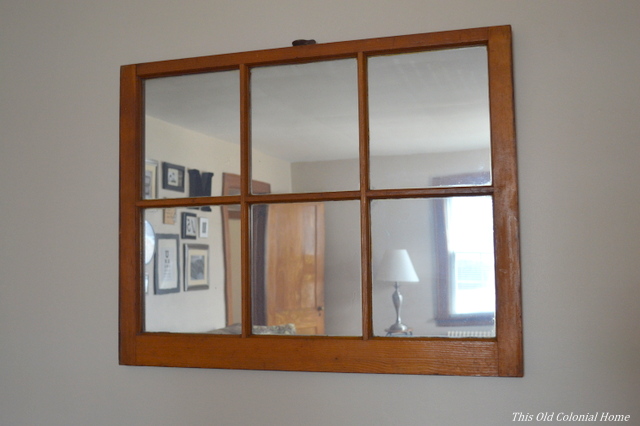
 Following her lead, Jamie and I measured the wall above our couch factoring in a 12″ perimeter. There was one tricky part though. Our couch isn’t centered along the wall because of a door that swings open. So since the couch is off-centered, we figured it was best to keep the gallery wall the same way. That way it’ll still be centered over the couch and we won’t have pieces hidden behind the door, which is almost always open wide.